JotNot
October 13, 2011 at 9:46 PM by Dr. Drang
A weird quirk of my job is that I often find myself away from my office—or any office—needing to make a copy of a piece of paper. Sometimes the paper is printed, sometimes handwritten, but either way, I can’t take the original with me and I don’t have a handy way to make a copy.
I can, of course, take a photo of the paper with my regular camera if I have it or with my iPhone if I don’t.1 This works, but it isn’t ideal. If I put the camera directly over the paper, it usually leaves a shadow on the page; if I keep the camera off to the side, there’s a perspective distortion. Neither of these problems are life-altering, and I’ve certainly made use of plenty of less-than-ideal pictures of paper, but that’s pretty much over since I spent a buck a few weeks ago and bought JotNot Scanner Pro.2
JotNot uses your iPhone’s camera to take a picture of the sheet of paper, then it post-processes the image to correct for the perspective distortion and equalize the tone to make the paper white and the text (or drawings) dark. You can then send the corrected image as a PDF, a JPEG, or a PNG to
- An email address
- Your Evernote account
- Your Google Docs account
- A WebDav/iDisk server
- A printer
- A fax machine
I’ve only used the email and Google Docs options, so I can’t vouch for the others, but the sharing has always worked fine for me. There’s also an OCR option I’ve never tried—a good quality image of the paper is all I care about.
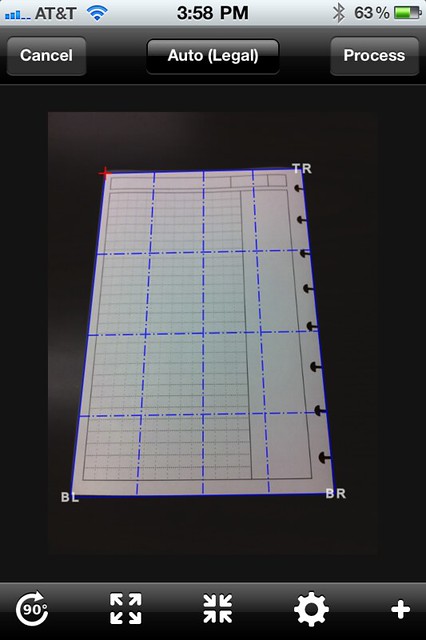
The perspective correction apparently uses contrast to figure out where the corners of the paper are. After taking the picture, you’re shown what JotNot considers the corners to be.
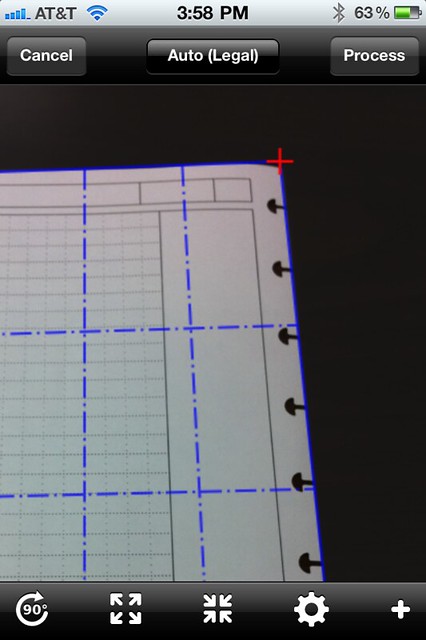
If the background is dark, JotNot does a good job of detecting the corners. If you don’t like what it’s chosen, or if you want to capture only a portion of the page, you can move the corners manually. JotNot zooms in when you touch the screen, so you can place the corners with decent precision.
A hint: use your left hand to place the two left corners and your right hand to place the two right corners. That way you can tilt your hand out of the way to get a better view of where the corner is going. Also, you don’t have to put your finger directly over the corner marker; you have have it quite a bit off so you can see the marker as you slide your finger around.
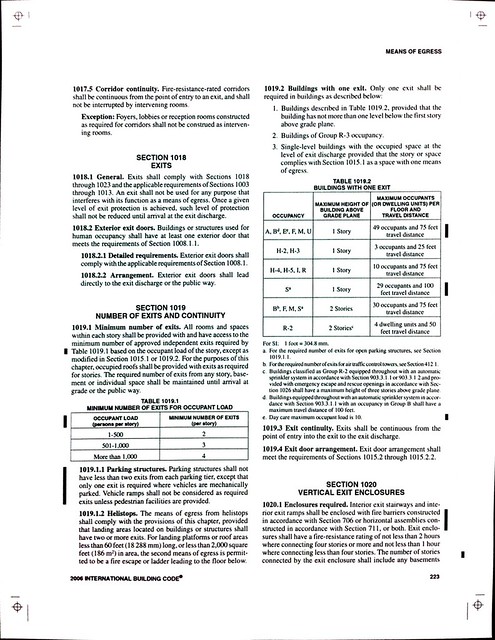
Here’s an example of JotNot’s image quality. Click it to see the full-sized image on Flickr.
It’s obviously no replacement for a proper scanner, but it’s pretty damned good.
One other hint: Keep the paper as flat as you can. As you can see from the screenshot, JotNot’s perspective correction works by stretching a trapezoid into a rectangle (an affine transformation). Curved images, which you’ll get if the paper isn’t flat, don’t get straightened, they just get turned into different curves.
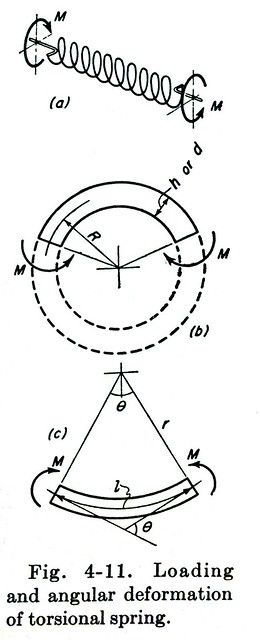
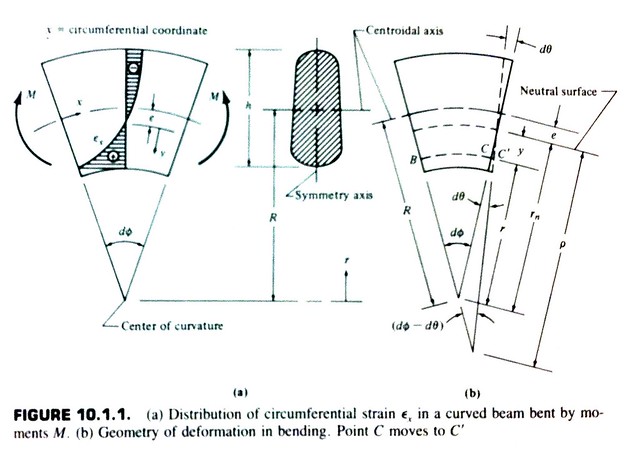
I used JotNot to copy these two images out of textbooks to use in the post about my broken garage door spring. Again, the full-sized images are a click away at Flickr.
The first one turned out quite well, mainly because the lines and text are nice and thick in the original. JotNot didn’t do as well with the thinner lines of the second image, but it was still OK, especially for an image that most readers aren’t going to scrutinize.
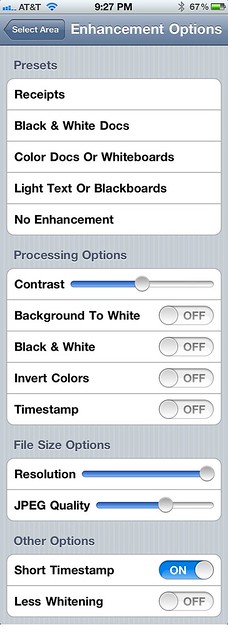
I did all the images above using the default enhancement settings, but there are settings that’ll give you some contrast and color control. You can even choose to do no enhancement if you just want to do the perspective correction. It won’t be mistaken for Photoshop, but it’s only 99¢.
I’m not sure how I found JotNot. It may have been in a featured or top selling list, it may have just popped up as I was searching for something else. However I found it, I’m glad I did.

