Shortcuts as subroutines
October 2, 2018 at 5:02 PM by Dr. Drang
I was too busy at work last week to spend any time with Federico Viticci’s excellent screenshot framing shortcut for iOS, but I dug into it over the weekend and used it as the basis for a shortcut that does the things I usually need done after creating a screenshot:
- Resizing if the screen shot is excessively wide.
- Optimizing to reduce the file size.
- Uploading to my server with an appropriate name.
I renamed Federico’s shortcut from “XS Frames” to “Frame Screenshot.” My extended shortcut is called “Frame and Upload” and I keep it next to “Frame Screenshot” in my list of shortcuts to make it easy to find.
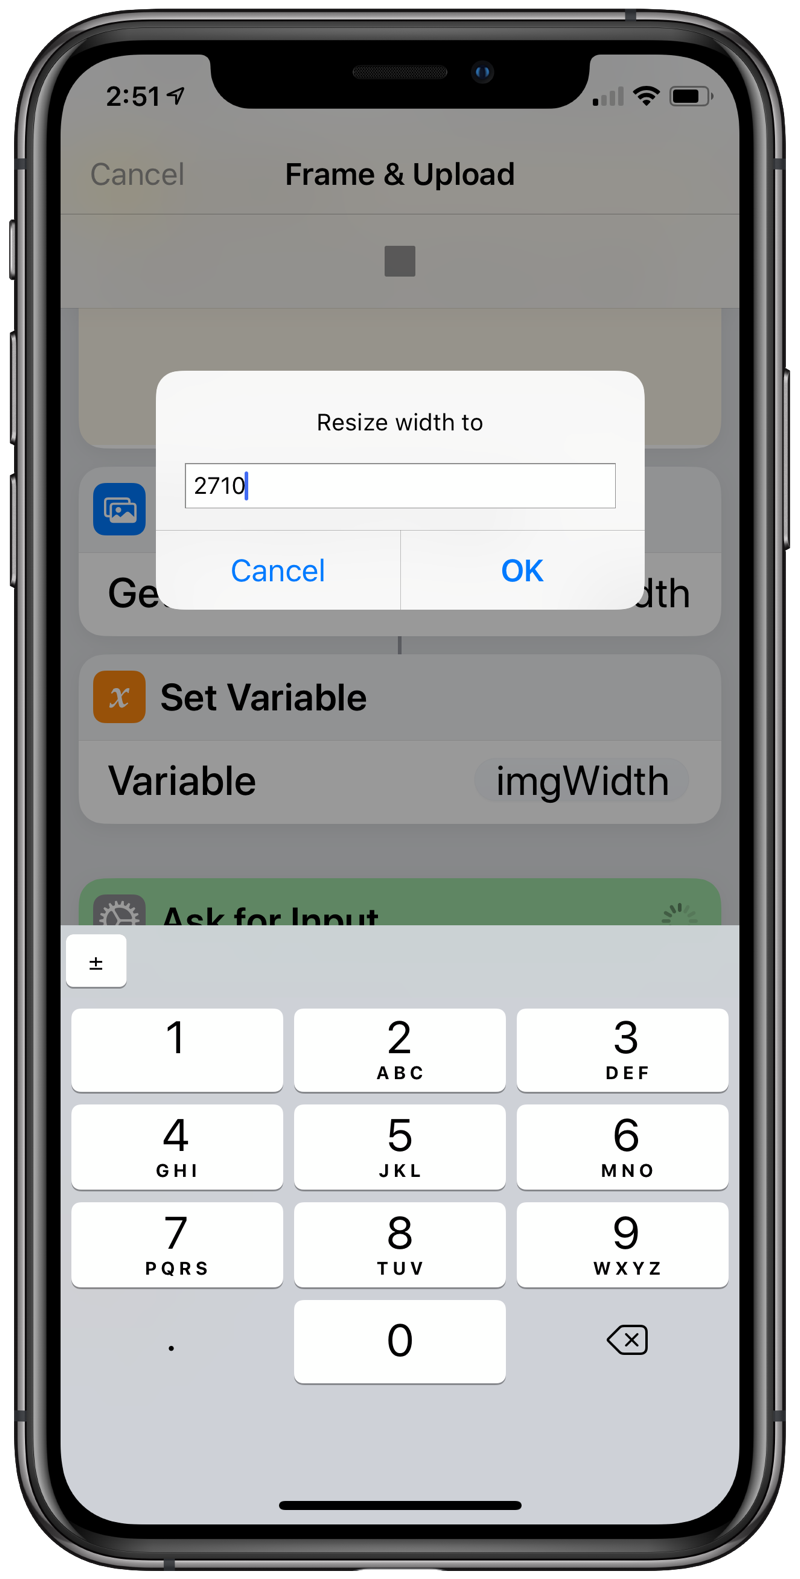
It would typically be called from the Share Sheet within the Photos app after selecting one or more screenshot images to frame. After selecting “Frame and Upload” from the Shortcuts list, the screenshots are processed and then the user is asked to resize the resulting image.

Because I wrote this to handle images posted here on the blog, and because width is the controlling dimension, the resizing is done by specifying a new width—the height is adjusted automatically to maintain the aspect ratio.
Note that the current width of the framed screenshot is given as the default. If the user just taps the OK button without editing the width field, no resizing is done.
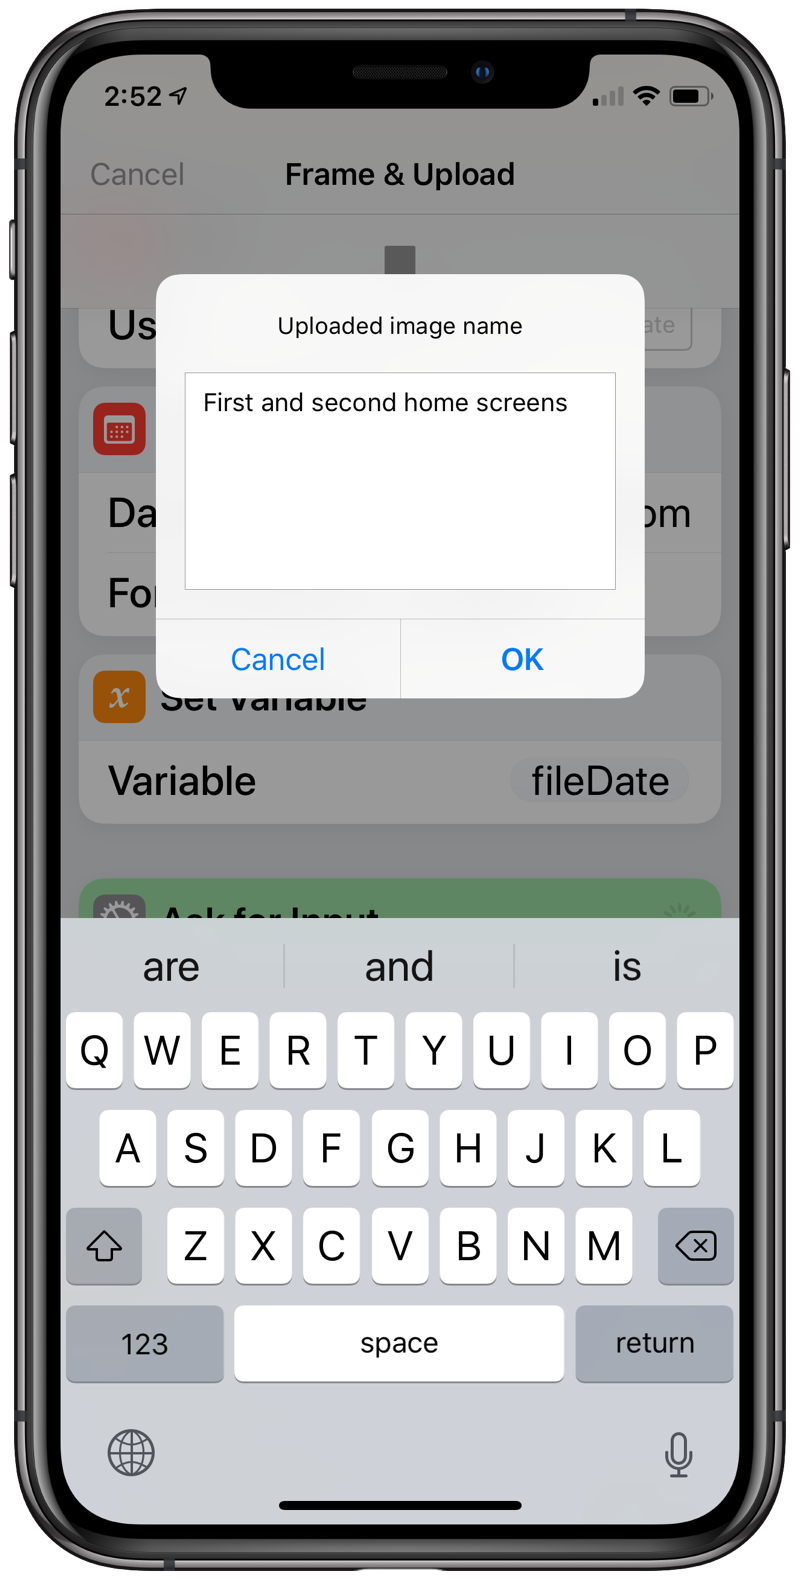
Next, the user is asked for a file name.

Actually, what gets entered here is just a part of the file name. I have a particular naming scheme I use for images here:
yyyymmdd-Description of image.ext
The date the image is uploaded, like 20181002, is included as a prefix. Then comes a description of the image, which can, and usually does, include spaces—this is the part that the user is asked for. I have other scripts that extract this portion of the file name to use as the alt and title attributes in the <img> tag. The extension for these framed screenshots is png.
Assuming everything goes well—as Federico said in his post, the shortcut sometimes fails, probably for lack of memory; I’ve always found that I could run it successfully immediately after a failure—I have a framed screenshot in Photos and a new file in the blog’s images directory on the server.

Here’s the complete shortcut, with the various sections marked:

Now you can see why I’m not interested in specifying the height of an image.
A few things worth expanding on:
- Although it may not be obvious (it wasn’t to me), Federico’s shortcut puts the framed image into the “flow.” This is why we can run it unchanged and put its output into the
framedImagevariable for later use. - I create a new images directory on the server each year and call it
imagesyyyy. That’s why there’s athisYearvariable. - Because autocompletion leaves a space after the word it just filled in, it’s easy to have trailing whitespace in the file name. The Replace Text action that’s called right after the file name is entered eliminates both leading and trailing whitespace so the user doesn’t have to be extra careful about it.
- Note that the
yyyymmddprefix is created with a formatting string ofyyyyMMdd. The uppercase M’s are not a typo. The date/time formatting system used by Shortcuts doesn’t comply with the old Unixstrftimelibrary conventions. - I find the
catcommand in the SSH action to be really weird. In a normal command-line environment, that command would basically be a no-op, and I can’t think of any time I’ve usedcatlike that in over 20 years of Unix/Linux experience. But because Shortcuts is sending the data flow to the server as standard input, that weird usage works perfectly. As I was putting this together, I asked Federico, Jason Snell, and Rosemary Orchard about uploading through Shortcuts, and Rosemary was the first to respond with this short, clever solution. Just what I was looking for. - The call to
optipngin the SSH action at the end will only work if OptiPNG is installed on the server.
Chances are you don’t want to enter all these steps by hand. You can download a template of it and just change the stuff in the SSH action.
I’m still not a big fan of the Workflow/Shortcuts programming environment—I prefer typing to dragging, and really prefer a text environment when I need to edit a program. But there’s no question of its power, especially when you can take entire shortcuts and use them as subroutines. Thanks to the Workflow boys for that. I have a distinct sense that if Shortcuts had been developed within Apple from the start, that feature, essential for building up complex programs, would not have been included.
At present, Federico’s framing shortcut can add only X🅂 and X🅂 Max frames around your screenshots. I assume he didn’t bother with iPad frames because he’s expecting new versions to arrive soon and didn’t want to waste his time on something that would have to be changed almost immediately. Presumably, when Steve Troughton-Smith and Guilherme Rambo uncover the hero images for the new iPads, Federico will be on them like a duck on a June bug. Do they have June bugs in Italy?

