Extended app icon shortcut
November 21, 2018 at 9:14 AM by Dr. Drang
I was scrolling through Federico Viticci’s shortcuts library the other day, looking for something to steal, when I came across this shortcut for finding and saving icons from the App Store. It’s the kind of thing that can be very helpful when writing a blog post about an app, so I installed it. I soon decided that it would work better for me with a little tweaking.
Here’s how Federico’s shortcut works: It asks you for a search term and returns the top five hits from the App Store. You select the one you want (or cancel and try again if the search didn’t work) and a 512×512 PNG of the app’s icon appears in your Photos app. In a nice touch, the corners of the icon are rounded off to appear as they would on your home screen.
You can imagine how often this shortcut gets used by the industrial-strength app reviewing team at MacStories, but even a small-timer like me can make use of it. But to automate the process further, I wanted the shortcut to upload the image to my server and delete the local copy from my iOS device. Also, since I’m usually in the App Store at some point when I’m researching or writing a post about an app, it seemed more useful to my work habits to have the shortcut start from the share sheet instead of a search.
Here’s how my Upload App Icon shortcut works:
- Go to the App Store entry for the app of interest.
Tap the three-dots button near the upper left corner of the page and choose Share App… from the popup menu. This will bring up the standard share sheet.
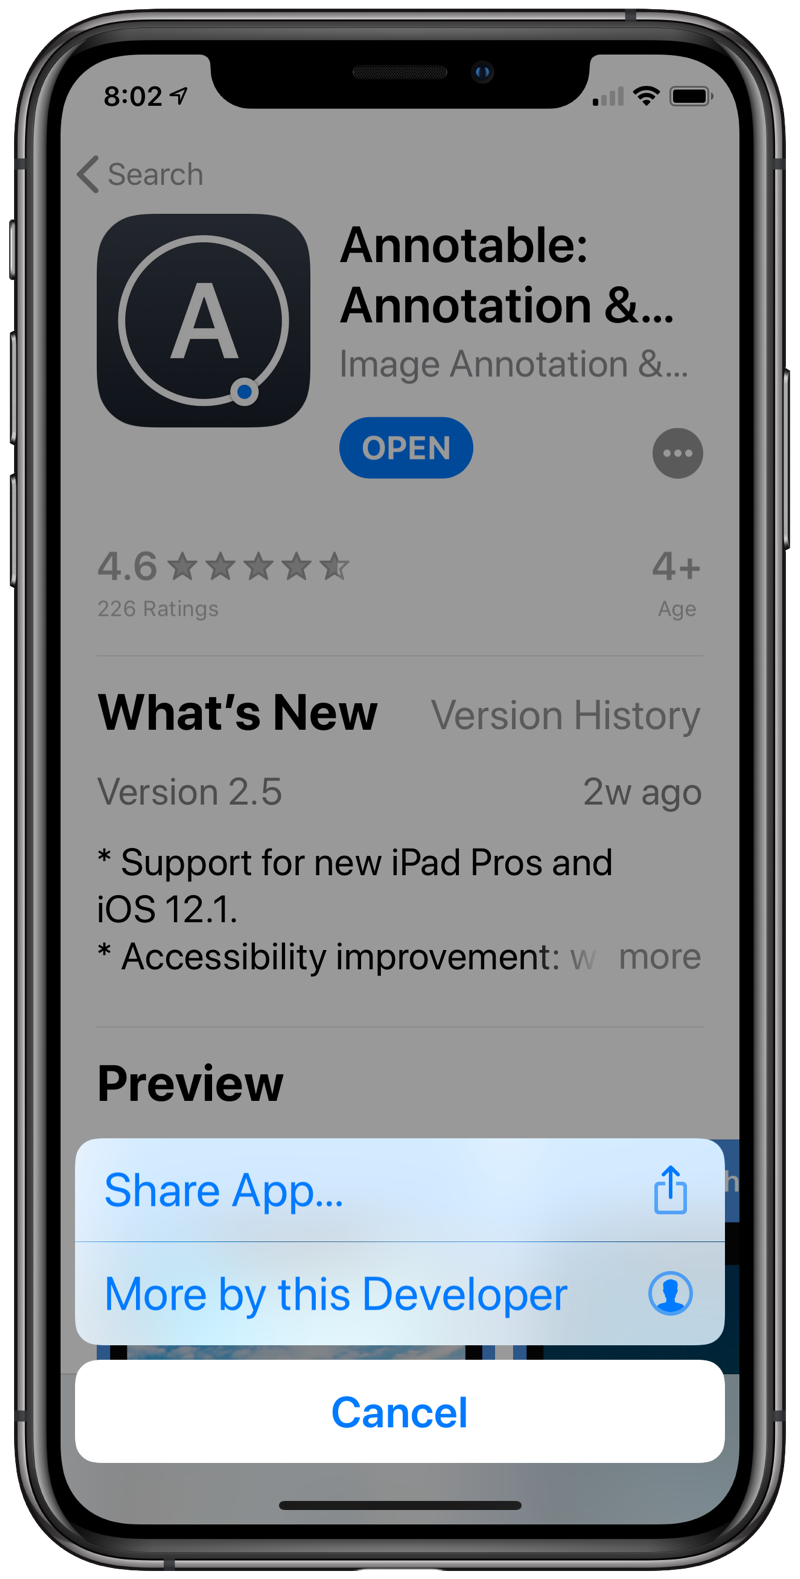
- Choose Shortcuts from the share sheet and select the Upload App Icon shortcut.
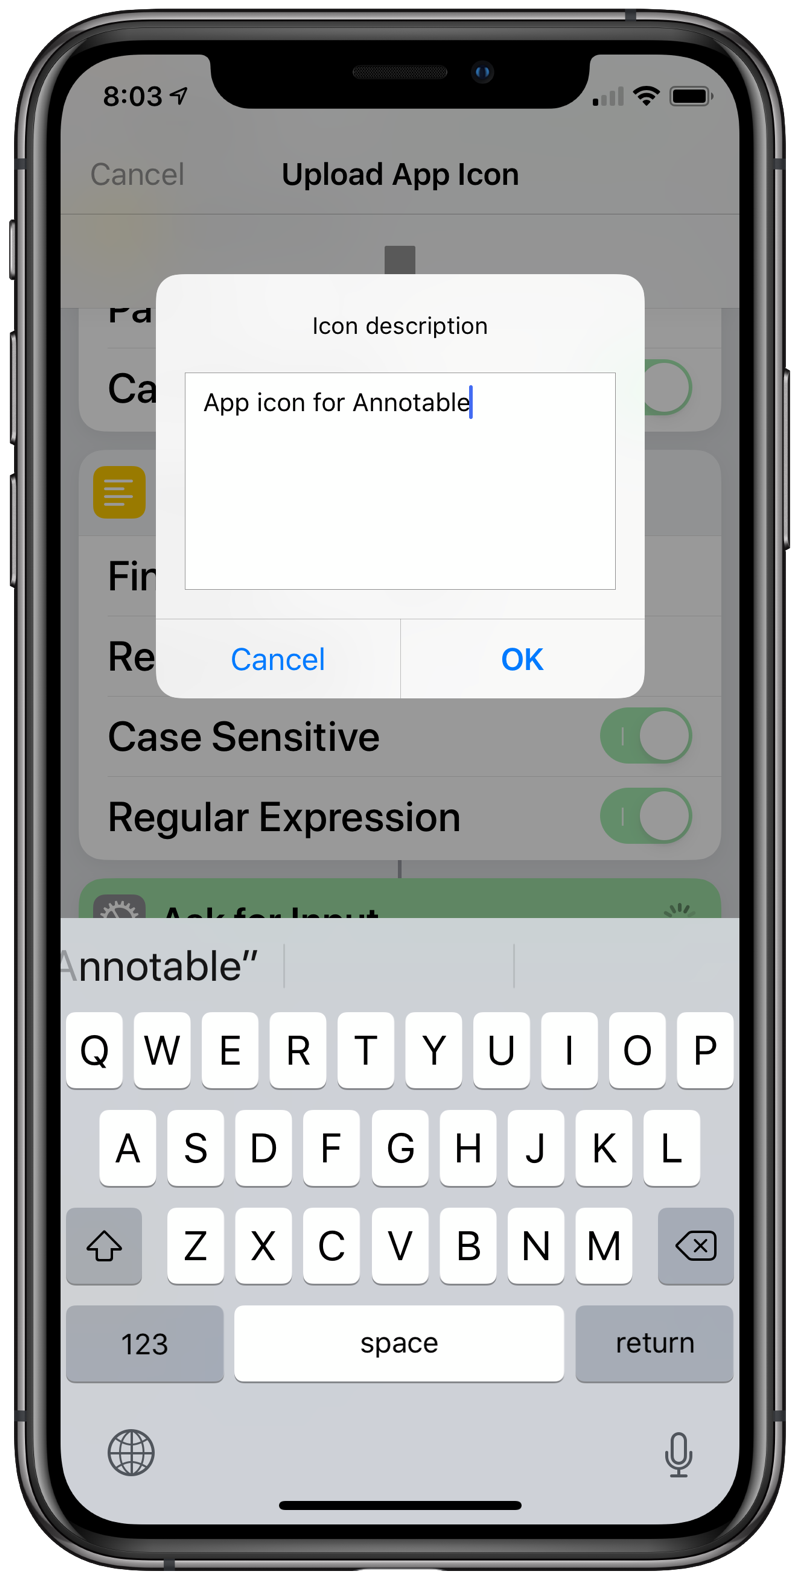
Enter a description for the image. The default description is “App icon for app name,” which is what I want most of the time.
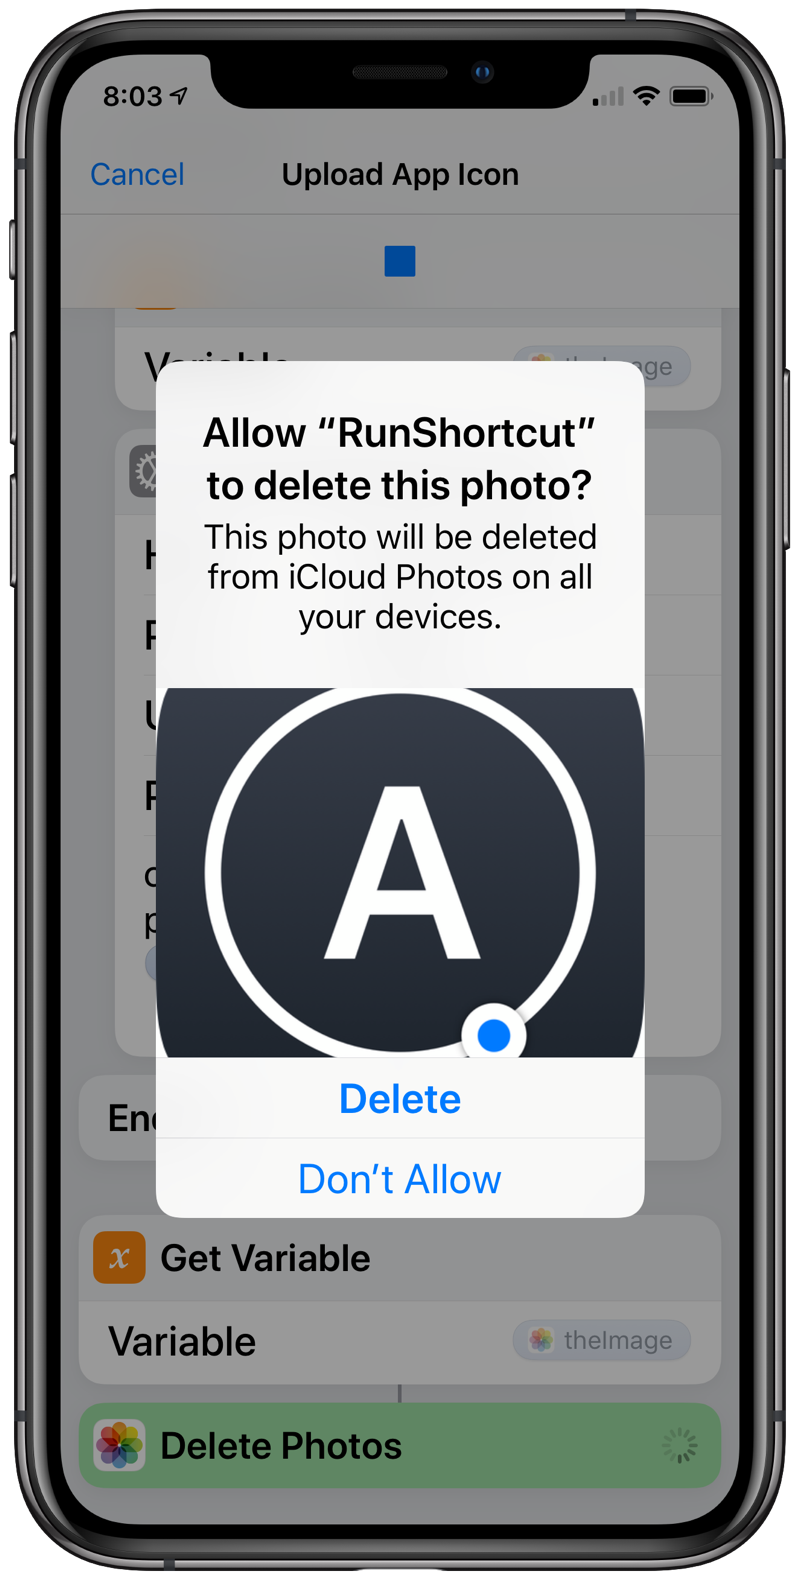
Decide whether to delete the icon image from Photos.
The image is now on my blog’s server, in a folder (for the above example) named “images2018” with the name “20181121-App icon for Annotable.png.” The year in the folder name and the date prefix in the file name are handled by the shortcut.
Here’s the shortcut itself, with the server information anonymized.
![]()
I think I’ve reached (or maybe exceeded) the limit of shortcut length that can be comfortably displayed here. If you want to adapt the shortcut for your own use, download it and edit away.
The first five steps (not counting comments) are taken straight from Federico’s shortcut. They get the icon’s URL, download the image, mask it to round off the corners, and save it to Photos.
The next three steps handle the file extension of the saved image, making it all lower case and changing “jpeg” to “jpg.” The latter is probably unnecessary, as icons are (I think) always PNGs, but better safe than sorry. We’ll use the extension later to set the name of the uploaded image and to decide whether it’s necessary to run an image compression command.
The following four steps get the date strings that will be used to set the folder and the prefix of the image name. They’re taken from this shortcut I wrote a couple of months ago.
The next five steps set the name for the uploaded file. This starts by getting the app’s name and using regular expressions to extract just the part before the first colon or hyphen. Many apps, like Annotable, include descriptive bits in their name to make them easier to find. The Match and Replace regexes get rid of that stuff. The user is then asked to provide the description, with the default as described above. Finally, the full name of the uploaded file is assembled from the date, the description, and the extension.
The next eight steps upload the image and, if necessary, run the OptiPNG image compression command. These steps are also mainly lifted from my earlier screenshot uploading shortcut.
Finally, the last two steps delete the icon from Photos. The Delete Photos step automatically gives the user the option to cancel the deletion, so there was no need to write any of that code.
Sharp-eyed readers will notice that this shortcut includes no Set Variable steps. It’s possible that I’ve finally figured out how to use Shortcuts’s magic variables. One feature that makes them easier to use, and the resulting code easier to understand, is renaming. After choosing a magic variable, you can tap on it to reveal several options for the information you can extract. This is like a dictionary in Python, a hash in Perl, or a record in AppleScript.
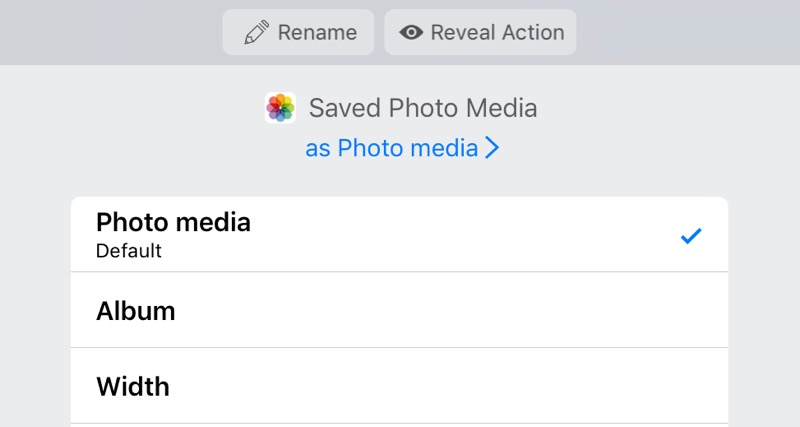
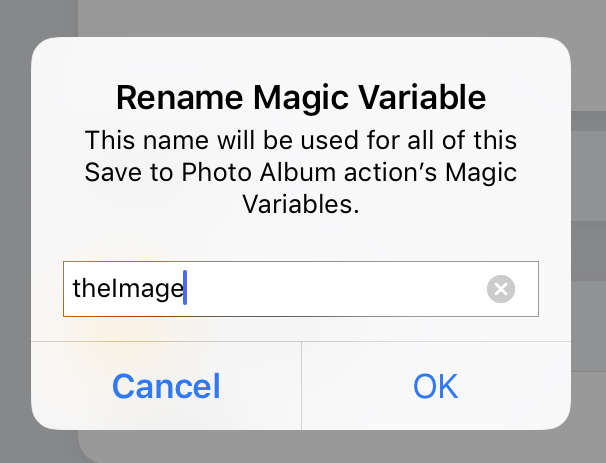
As important as the ability to pull out different information is the little Rename button at the top left. This allows you to give the magic variables that appear in your shortcut a more descriptive name than the default—especially helpful when you have more than one magic variable called “Text” or “Match Results.”
Update Nov 22, 2018 6:41 AM
If you download the shortcut now, you’ll get a version that’s been considerably simplified, partially through suggestions from Federico and partially through my own exploration and testing.
The simplifications are as follows:
- It gets the icon directly as an app property instead of getting the icon’s URL and then downloading it.
- It no longer saves the icon to Photos and therefore doesn’t have to delete the image at the end. When it’s time to upload, it accesses the image via the Masked Image magic variable.
- It no longer includes provisions for JPEG images. I’m pretty sure icon artwork is always in PNG format.
Here are the steps of the new streamlined version.
![]()

