Mapping photos with Pythonista 1.5
June 16, 2014 at 9:15 AM by Dr. Drang
This tweet from Ole Zorn on Saturday took a load off my mind:
Pythonista 1.5 has passed Apple’s review – release on Monday, more details soon. \o/
— Ole Zorn (@olemoritz) Jun 14 2014 6:27 AM
First, I was relieved to see that Ole had dodged the App Store’s threat to remove Pythonista. Second, I could stop worrying that Federico Viticci would have a stroke if that happened. And third, I could finally release my script for using Pythonista 1.5 for mapping photos on iOS.
You might recall a Python script I wrote a few months ago that did basically the same thing on OS X. At the time, I thought it would be a snap to convert that script to Pythonista. But as I explained in the updates to the post, I soon learned that the pick_image function from Pythonista’s photos module collected only the pixel data from the selected image, not the metadata where the GPS information was stored. So that put the kibosh on a mapping script for iOS.
But only temporarily. In Pythonista 1.5, pick_image can return the photo’s metadata along with its pixels, and you can query the metadata for the embedded GPS data.
Here’s the script, which I have saved as Map photo.py in Pythonista.
python:
 1:  import photos
 2:  import webbrowser
 3:
 4:  query = 'safari-http://maps.apple.com/?q=%s,%s'
 5:
 6:  img = photos.pick_image(include_metadata=True)
 7:
 8:  meta = img[1]
 9:  gps = meta.get('{GPS}')
10:
11:  if gps:
12:    latitude = str(gps.get('Latitude', 0.0)) + gps.get('LatitudeRef', '')
13:    longitude =str(gps.get('Longitude', 0.0)) + gps.get('LongitudeRef', '')
14:    print '%s, %s' % (latitude, longitude)
15:    webbrowser.open(query % (latitude, longitude))
16:  else:
17:    print 'Last photo has no location metadata.'
The photos module gives you access to the images on your devices Camera Roll. The pick_image function in Line 6 brings up the standard image picker user interface, similar to what you see in the Photos app. The image you tap on is then stored in the img variable. With the include_metadata parameter set to True, img is a tuple. The first item in the tuple is the pixel data, and the second is a dictionary of metadata, which is saved in the variable meta. Lines 9—13 drill down through the dictionary and extract the latitude and longitude.1 Finally, the latitude and longitude are printed to the console, and the Maps app is launched with a query for that location.
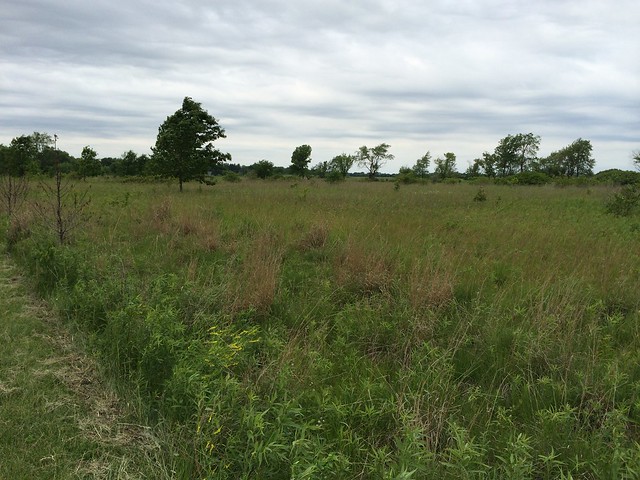
As an example, here’s a dull photo I took on a bike ride Sunday morning.
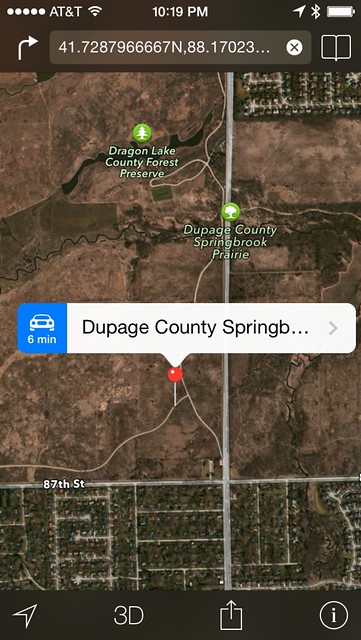
Running Map photo from Pythonista and choosing this photo from the image picker sends me to Maps with a pin right where the photo was taken.
The location isn’t always as accurate as this. In particular, photos taken indoors can be off by quite a bit. I’ve found that if you run the Maps app and map your current location before taking a photo, the GPS metadata in that photo will be more accurate, but that’s not something you’re likely to do. This is not the fault of Pythonista; it’s only reporting the information that was saved with the photo.
I’m writing this on Sunday night in the US/Central time zone, and Pythonista 1.5 isn’t currently in the App Store. Since Ole’s in Berlin, I assume he’ll release by tomorrow morning my time, so I’ve scheduled the publication of this post accordingly. I suspect that by that time Federico will have already published a long treatise on the new stuff in version 1.5, including the cool new ui module, the numpy and matplotlib modules, and the motion module for accessing your device’s sensors. It’s a big update for Pythonista and we’ll be seeing lots of cool new scripts in the next few weeks.
-
If they exist. The Camera Roll also includes screenshots, which have no GPS metadata. If you happen to choose a screenshot from the image picker, Lines 16–17 will let you know. ↩


