iOS screenshots of overlays
December 16, 2018 at 9:44 AM by Dr. Drang
When presenting choices to a user, iOS has overlays with rounded corners. An example is the overlay that appears when you want to delete an image from the Photos app.
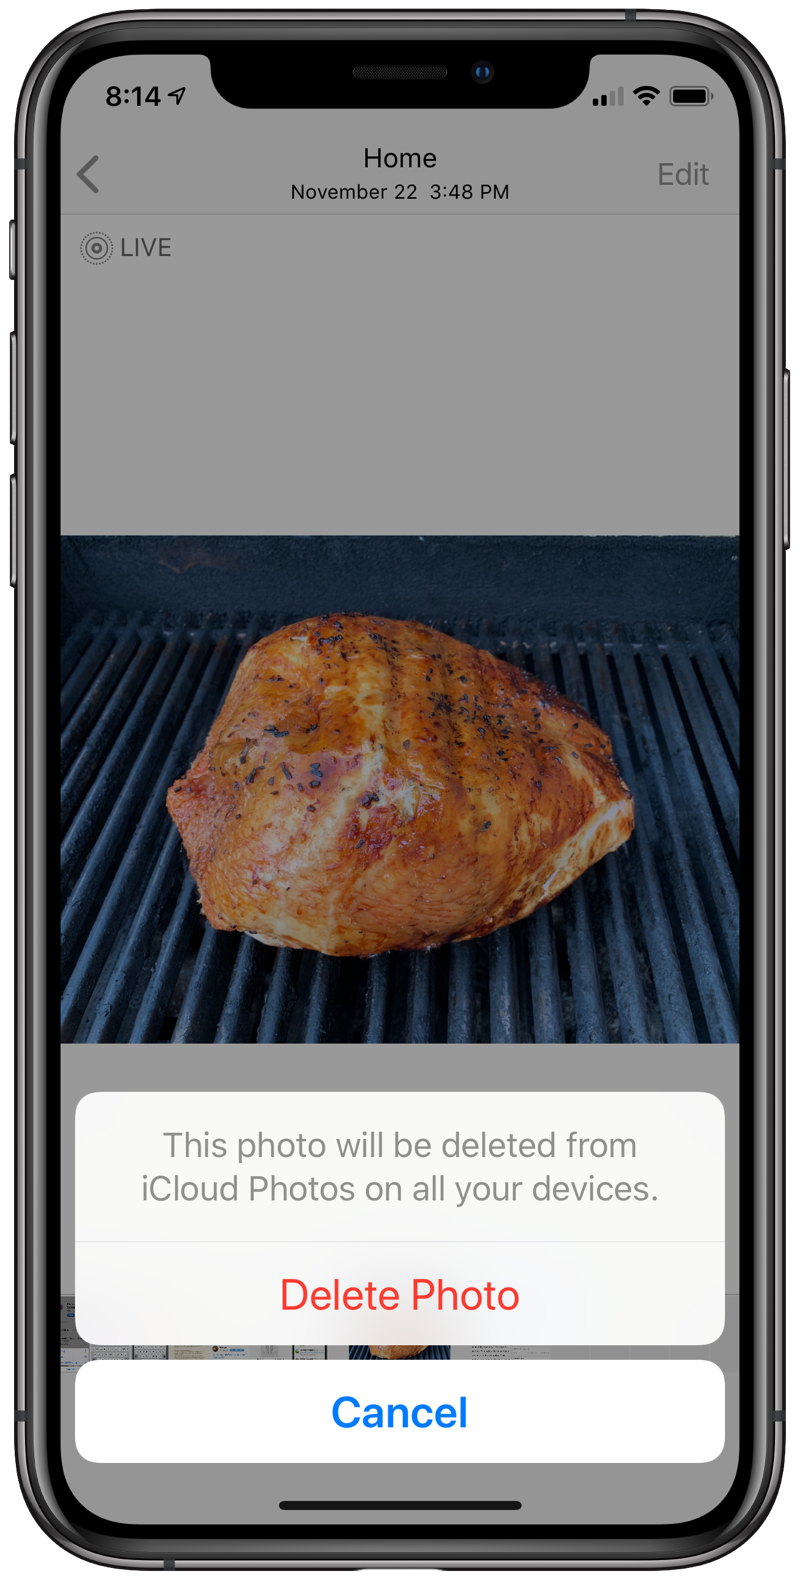
Officially, these have a few names, depending on their exact look and how they’re used. For modal interaction, there are alerts and modal views; for non-modal (and some modal) interaction, there are popovers. Regardless of the name and the underlying code, they have a similar look, and I often like to include screenshots of them in my posts. I’ve recently come up with a way to do this without leaving a cluttered background in the image.
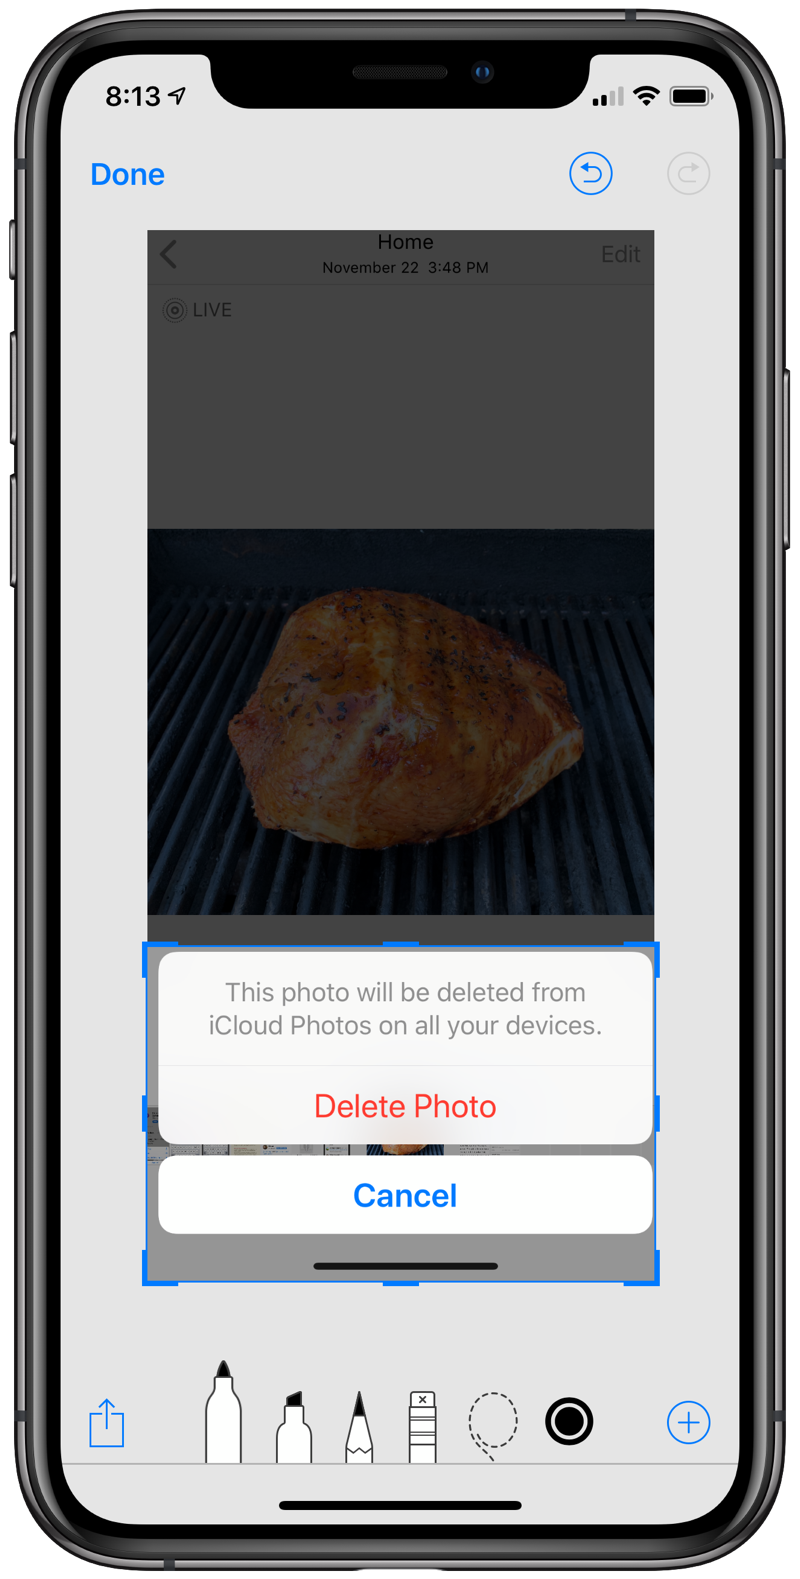
Immediately after taking a screenshot, it’s easy to crop the image down to nearly the right size, but virtually impossible to crop it down to exactly the right size, because you can’t zoom in with the iOS-supplied cropping tools.
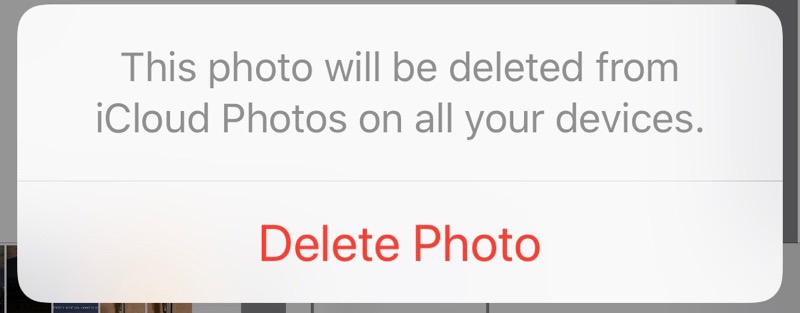
And even if you could crop precisely to the edges, the rectangular corners would still have wisps of background peeking out from beyond the rounded corners.
My solution is a two-step process:
- Use Pixelmator to crop precisely to the edges. This is a “by hand” operation that I just haven’t figured out how to automate.
- Use Shortcuts to mask out the rounded corners and, optionally, add a solid gray background. To me, white, or near-white overlays look better against the white background of the blog if they’re set against a darker background.
I typically do an approximate crop right after taking the screenshot, leaving me with something like this:
I then open the image in Pixelmator and crop it down to hit the edges precisely.
![]()
There is a technique to this. If you zoom in to a corner and then choose the crop tool, Pixelmator will zoom back out before allowing you to crop. This doesn’t hurt anything, but it means you wasted your time by zooming first.
So choose the crop tool and then zoom in to one of the corners. You will almost certainly need to pan during this process, which you must do with two fingers, as Pixelmator interprets all one-finger swipes while in crop mode as directions to move the crop handles. Once you get zoomed in to a corner, use one finger to align the crop with the sides of the rounded corner. This is relatively easy to do because the lines jump one pixel at a time at high zoom.
After cropping the first corner, you’re best bet is to tap the Apply button and then go back into crop mode to do the opposite corner. Every time I’ve tried to crop both corners in a single trip to crop mode, I’ve screwed up the crop while moving from one corner to the other. Inevitably, Pixelmator interprets one of my zoom or pan motions as a one-finger swipe and changes the crop.
Now we have our overlay cropped down to a precisely aligned rectangle, which I save back into the Photos app.
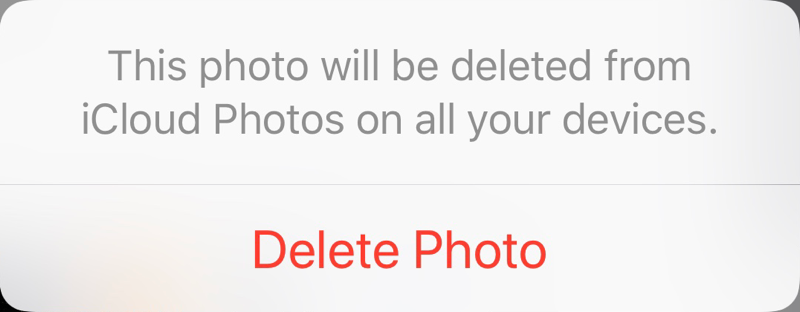
It’s time to run the Round Corners shortcut. This is a Share Sheet shortcut that acts on images. It asks the user first for the corner radius to use in the masking.
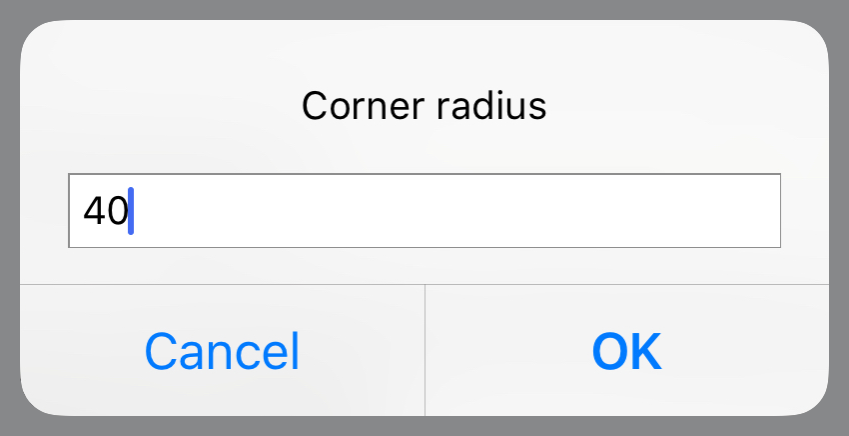
I set the default radius to 40 pixels because I’ve found that to work reasonably well for most overlays. The rounded corner mask that Shortcuts applies isn’t an exact match for the rounded corners used in overlays. I think that’s because Shortcuts uses a quarter circle for the rounding (hence the need for a radius) and iOS uses a squircle.
The shortcut then asks if a background should be applied. The answer you give determines whether you end up with this
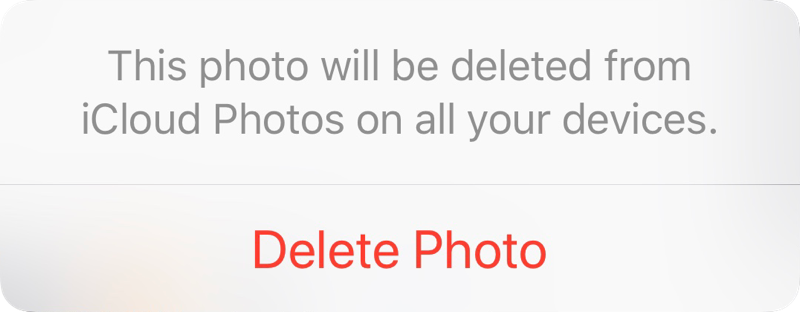
or this
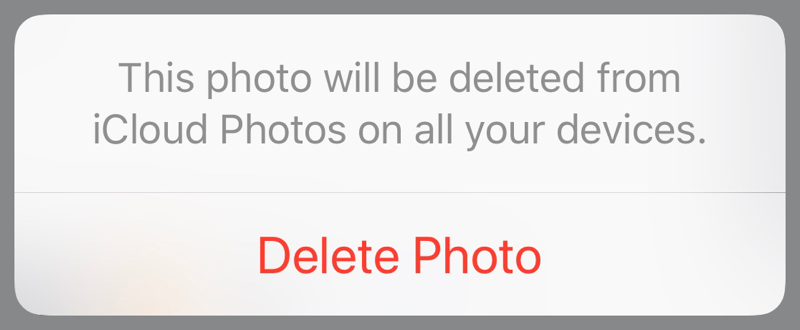
saved to your Photos app.
Here are the steps of the Round Corners shortcut:

I think the comments do a decent job of explaining what’s going on, but there are two tricks worth noting. First, I’m using Federico Viticci’s technique of embedding a base64-encoded version of the background image into the shortcut itself. It’s there in the Text step a little more than halfway down. Second, to save space, that background image is just a 1×1 pixel image. It gets resized to slightly larger than the target image (20 pixels larger in all four directions) before the overlay is done.
In case you missed it above, here’s the download link for the shortcut.
An obvious improvement would be to get rid of the hand cropping. The OpenCV library, which has bindings for Python, might be a way to grab just the needed portion of the image and would probably handle the masking, too. It works in iOS, but I think you have to be a real developer, not just a scripter, to use it there. I could probably get it running on my Mac or blog server if I dedicate the time to it.
