Reducing the size of PNGs with Keyboard Maestro, AppleScript, and ImageOptim
August 20, 2023 at 1:16 PM by Dr. Drang
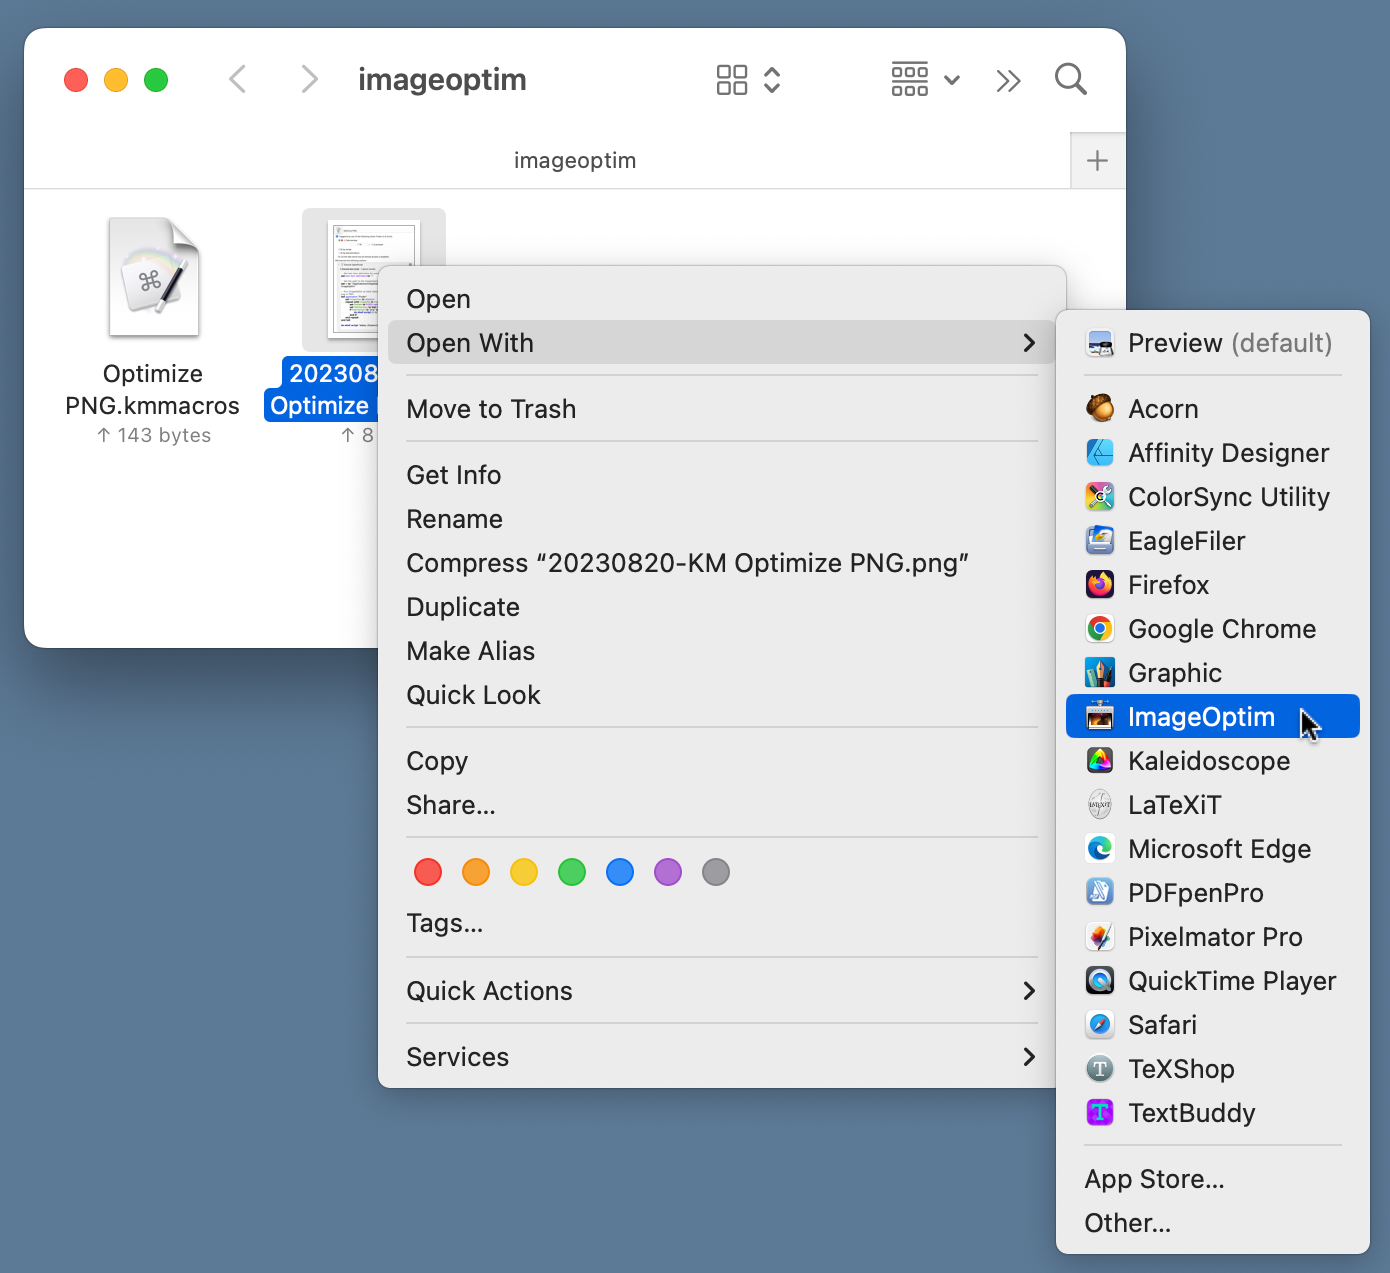
For a long time, I’ve been using ImageOptim to reduce the size of PNG files I use here on the blog. The SnapClip and SnapSCP macros I use for taking most of my screenshots run ImageOptim automatically, but when I need to annotate or otherwise edit a screenshot, I have to run ImageOptim manually on the final version of the image. Until recently I’ve been doing this by selecting the file and control-clicking on it to open it in ImageOptim.

This is relatively quick, but I do have to make sure I hit ImageOptim in the long menu of apps—easy to do when I’m sitting up at a desk but less so when I’m lying on a bed or a couch. I decided to turn the operation into a Keyboard Maestro macro. I still have to start by selecting the file(s) I want to optimize, but I no longer have to aim at a menu item.
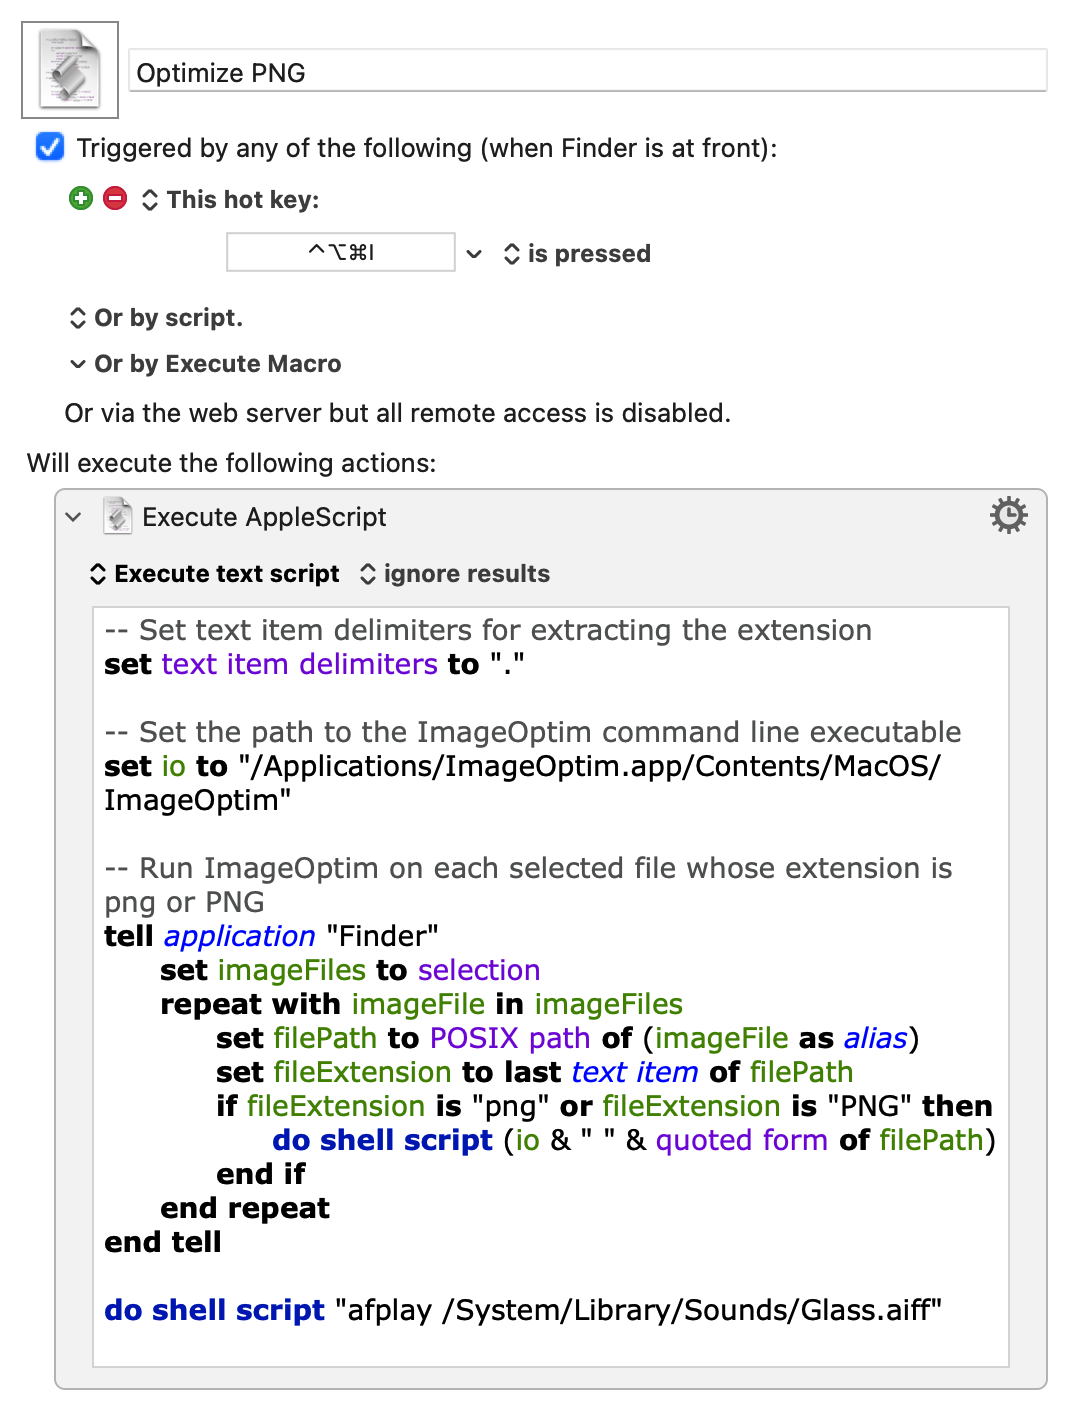
The macro is called Optimize PNG, and here’s a screenshot of it:

If you download it and import it into Keyboard Maestro as is, it will appear in the Finder group and will be active. You can run it when you have one or more PNG files selected in the Finder.
The macro has one step, which is this AppleScript:
applescript:
 1:  -- Set text item delimiters for extracting the extension
 2:  set text item delimiters to "."
 3:
 4:  -- Set the path to the ImageOptim command line executable
 5:  set io to "/Applications/ImageOptim.app/Contents/MacOS/ImageOptim"
 6:
 7:  -- Run ImageOptim on each selected file whose extension is png or PNG
 8:  tell application "Finder"
 9:    set imageFiles to selection
10:    repeat with imageFile in imageFiles
11:      set filePath to POSIX path of (imageFile as alias)
12:      set fileExtension to last text item of filePath
13:      if fileExtension is "png" or fileExtension is "PNG" then
14:        do shell script (io & " " & quoted form of filePath)
15:      end if
16:    end repeat
17:  end tell
18:
19:  do shell script "afplay /System/Library/Sounds/Glass.aiff"
Basically, the script loops through all the selected files and runs ImageOptim on them. There’s some logic in there that makes sure1 that ImageOptim is run only on PNG files, and a conversion from an AppleScript file description to a Unix-style file path. The command that gets run on every PNG file is
/Applications/ImageOptim.app/Contents/MacOS/ImageOptim '/path/to/image file.png'
The file path is quoted (Line 14) to ensure that spaces are handled correctly.
When the optimizing is done, the Glass sound plays (Line 19) to let me know the files are ready.
The name of the macro is “Optimize PNG,” but I use ⌃⌥⌘I as the trigger because I think of it as opening ImageOptim, even though ImageOptim never shows itself except briefly in the Dock.
-
It’s certainly not a foolproof way of “making sure.” All it does is get the file extension (Lines 2 and 12) and checks to see if it’s “png” or “PNG” (Line 13). That’s good enough for me, but if you’re the kind of person who saves files with misleading extensions (or no extension at all) you’ll have to come up with a better way of distinguishing PNG files. Also, you should rethink your life choices. ↩
