Updated photo labeling tip
January 29, 2011 at 7:30 AM by Dr. Drang
A couple of years ago, I wrote this tip on how to use OmniGraffle to put readable text labels on photos. The tip worked, and will still work, but there’s a better way, and I realized while writing my last entry that I’d never shared the better way.
As I said in the original tip,
Variegated backgrounds often make it difficult to choose a good color for the annotation text. The ideal solution is to put a semitransparent gray behind the text—the photo shows through the gray but is muted to allow the text to stand out.
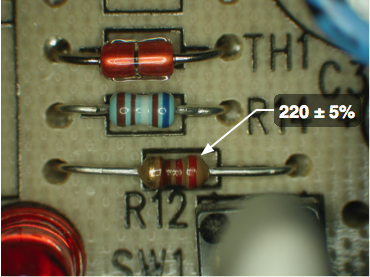
My solution back then was to fill the text box with a background bitmapped image, either all black or all white, and adjust the transparency of the image to achieve a good balance between having the text stand out and the photo show through. This was the example I gave.

Stupidly, I didn’t realize that I could get the same effect by filling the text box with a background color. I even said something that was clearly wrong:
OmniGraffle allows you to set a background color for text objects, but unfortunately that color will be opaque—there’s no control for its transparency. OmniGraffle will, however, let you set the transparency of a background image, which is how I got the effect shown above.
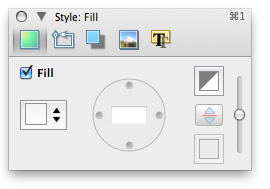
OmniGraffle will let you set the transparency of the background color, it’s just that the control for doing so isn’t in the Fill Inspector panel, as I expected it to be.

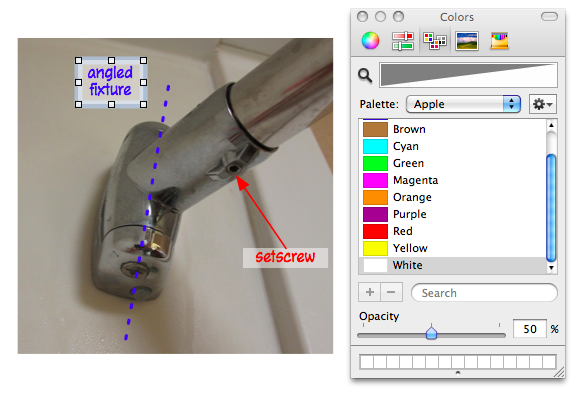
It’s a slider at the bottom of the standard Apple Color Picker. Here’s how I used it to give the labels a semitransparent background in the photo of the curtain rod fixture.

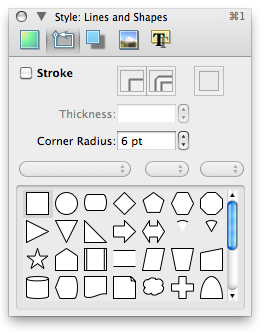
To add a bit more style to the label—something I did in the circuit board photo but didn’t do in the fixture photo—you can use OmniGraffle’s Line and Shape Inspector to round the corners of the label.


