Embedding JavaScript in Shortcuts with Scriptable
January 11, 2020 at 11:08 PM by Dr. Drang
Earlier this week, Scriptable added a feature that makes executing simple JavaScript functions within Shortcuts distinctly easier. I decided to show how it works by writing yet another version of my ROT13 shortcut.
The new action is “Run Inline Script,” and it does pretty much what you’d expect: it allows you to write JavaScript within a Shortcuts action that gets executed by Scriptable.
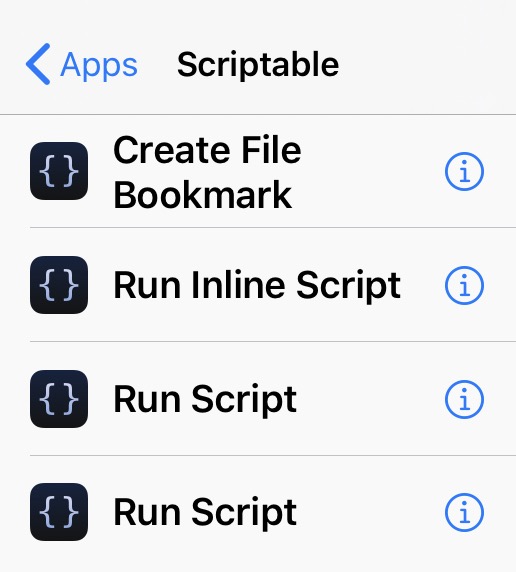
The documentation for the new action (which you can see within Shortcuts by tapping the ⓘ, is this:
Runs a script in Scriptable. The parameter can be accessed using args.shortcutParameter. This parameter can be a text, list, dictionary or a file. When passing a file as input the action will attempt to read the file as JSON or a plain text. If the file cannot be read as JSON or plain text, a path to the file will be passed instead. Use args.plainTexts, args.images, args.urls and args.fileURLs to read the other input parameters. When passing large images and files as input, the script may fail due to memory constraints. In that case you should enable “Run In App”. Use JavaScript’s “return” keyword or Script.setShortcutOutput() to output a value. In case you don’t output a value, add Script.complete() to indicate that your script have finished running.
This is correct, but as we’ll see in a minute, there’s an even easier way to pass information into an inline script.
Here’s my new JavaScript-based ROT13 shortcut, called “ROT13 Scriptable Inline.” If you compare it to what I wrote before, you’ll see that the only change is in Step 10, which is now “Run Inline Script” instead of “Run Script.”
| Step | Action | Comment |
|---|---|---|
| 0 |  | This shortcut takes the URL of the tweet. |
| 1 | 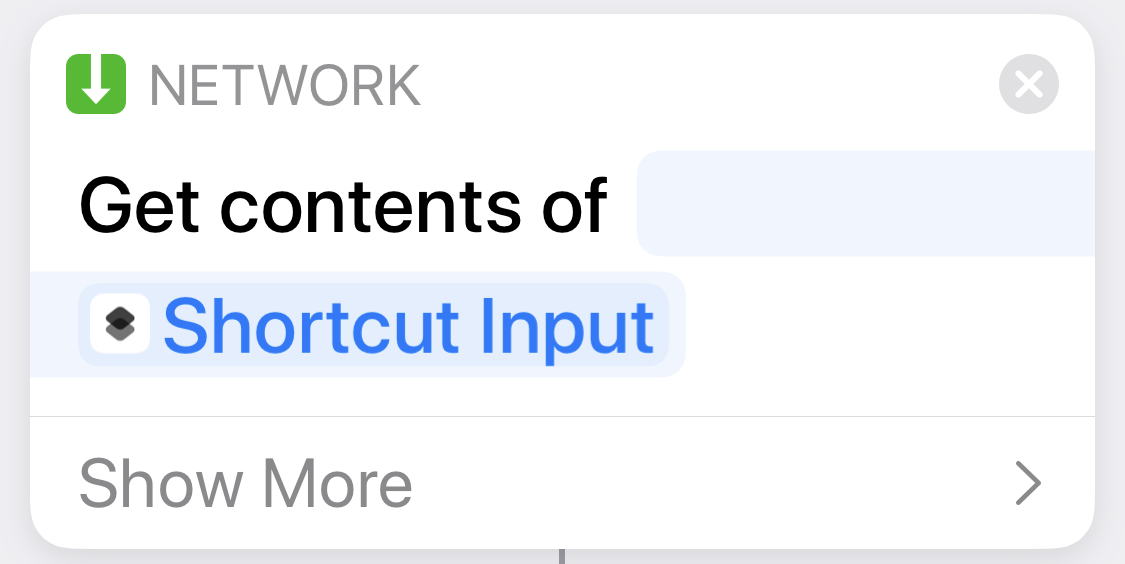 | Do an HTTP GET on the tweet URL. |
| 2 | 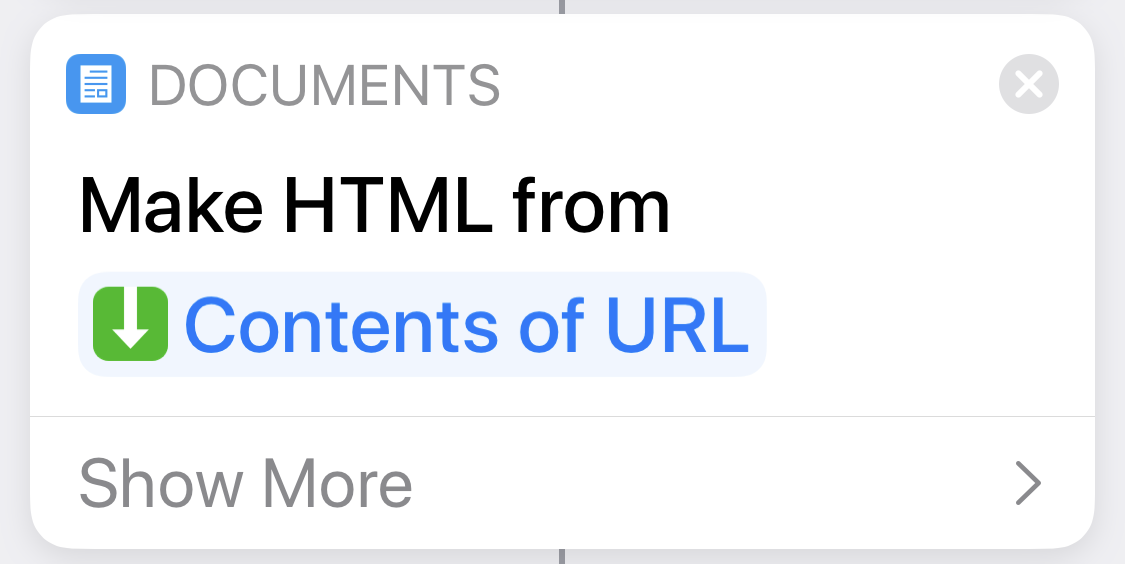 | Treat the data from the GET as HTML. |
| 3 | 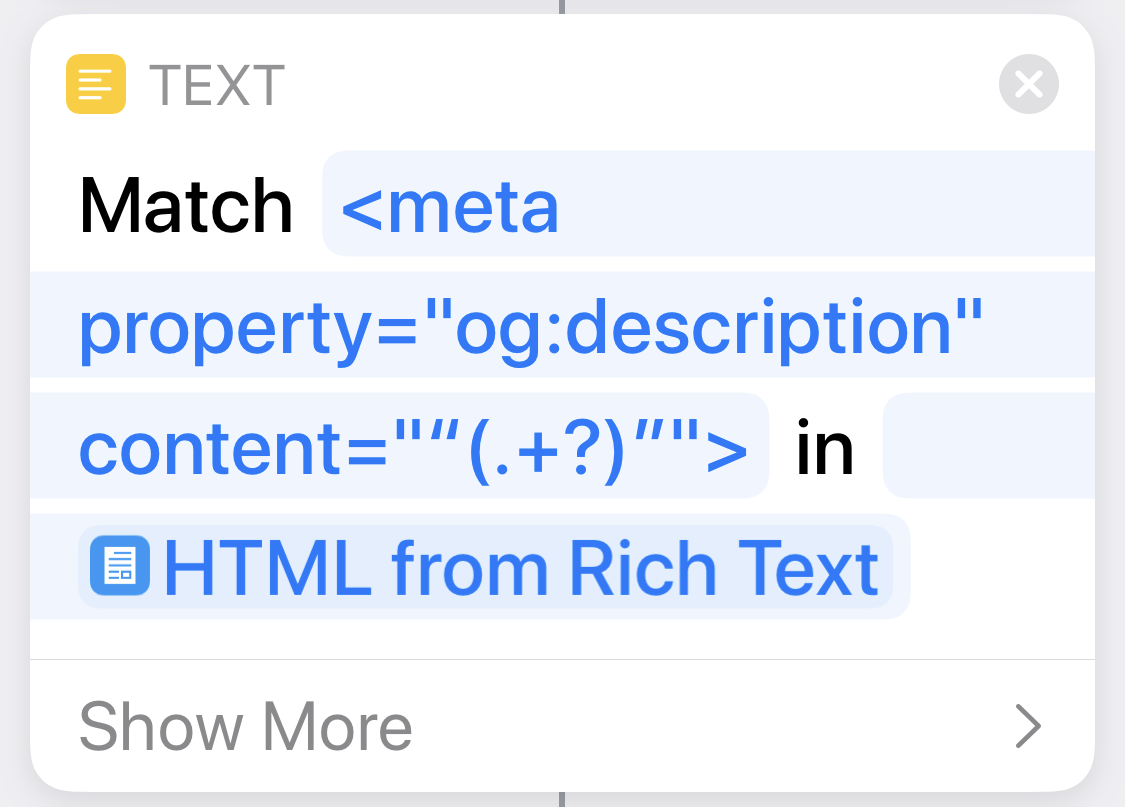 | Find the meta tag that has the text of the tweet. |
| 4 | 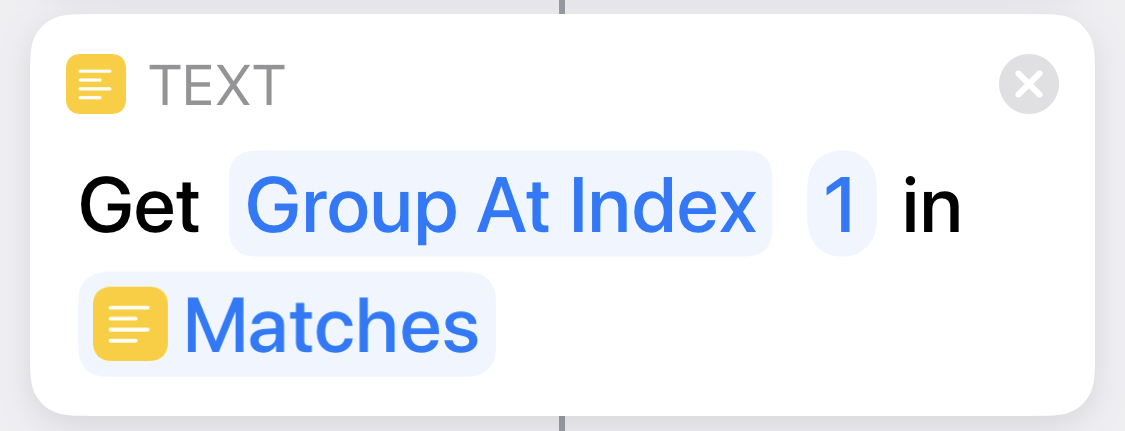 | Extract the text of the tweet from the match; this will include HTML entities. |
| 5 | 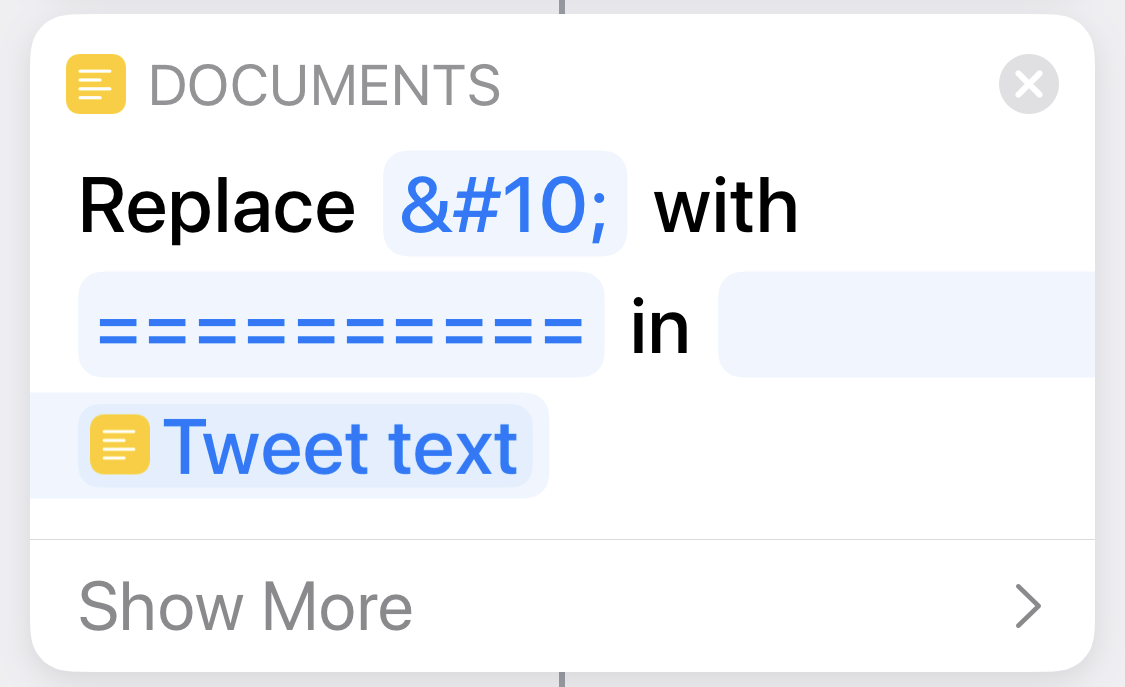 | Because the next step turns newline characters into spaces, protect them by turning them into runs of 10 equals signs (we’ll turn them back later). |
| 6 | 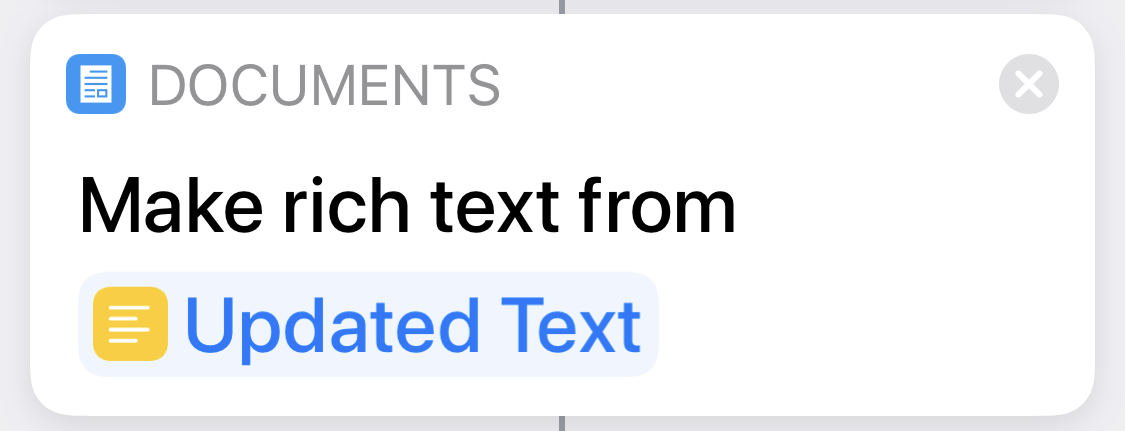 | Convert all the remaining HTML entities into characters by converting the HTML to rich text. |
| 7 | 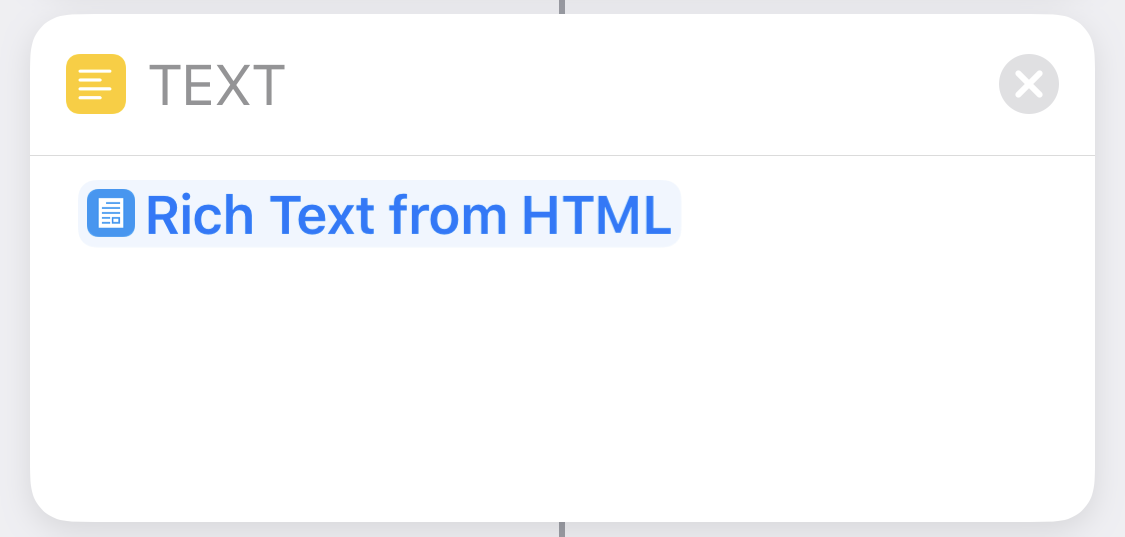 | Convert the rich text into plain text so Scriptable can handle it. |
| 8 | 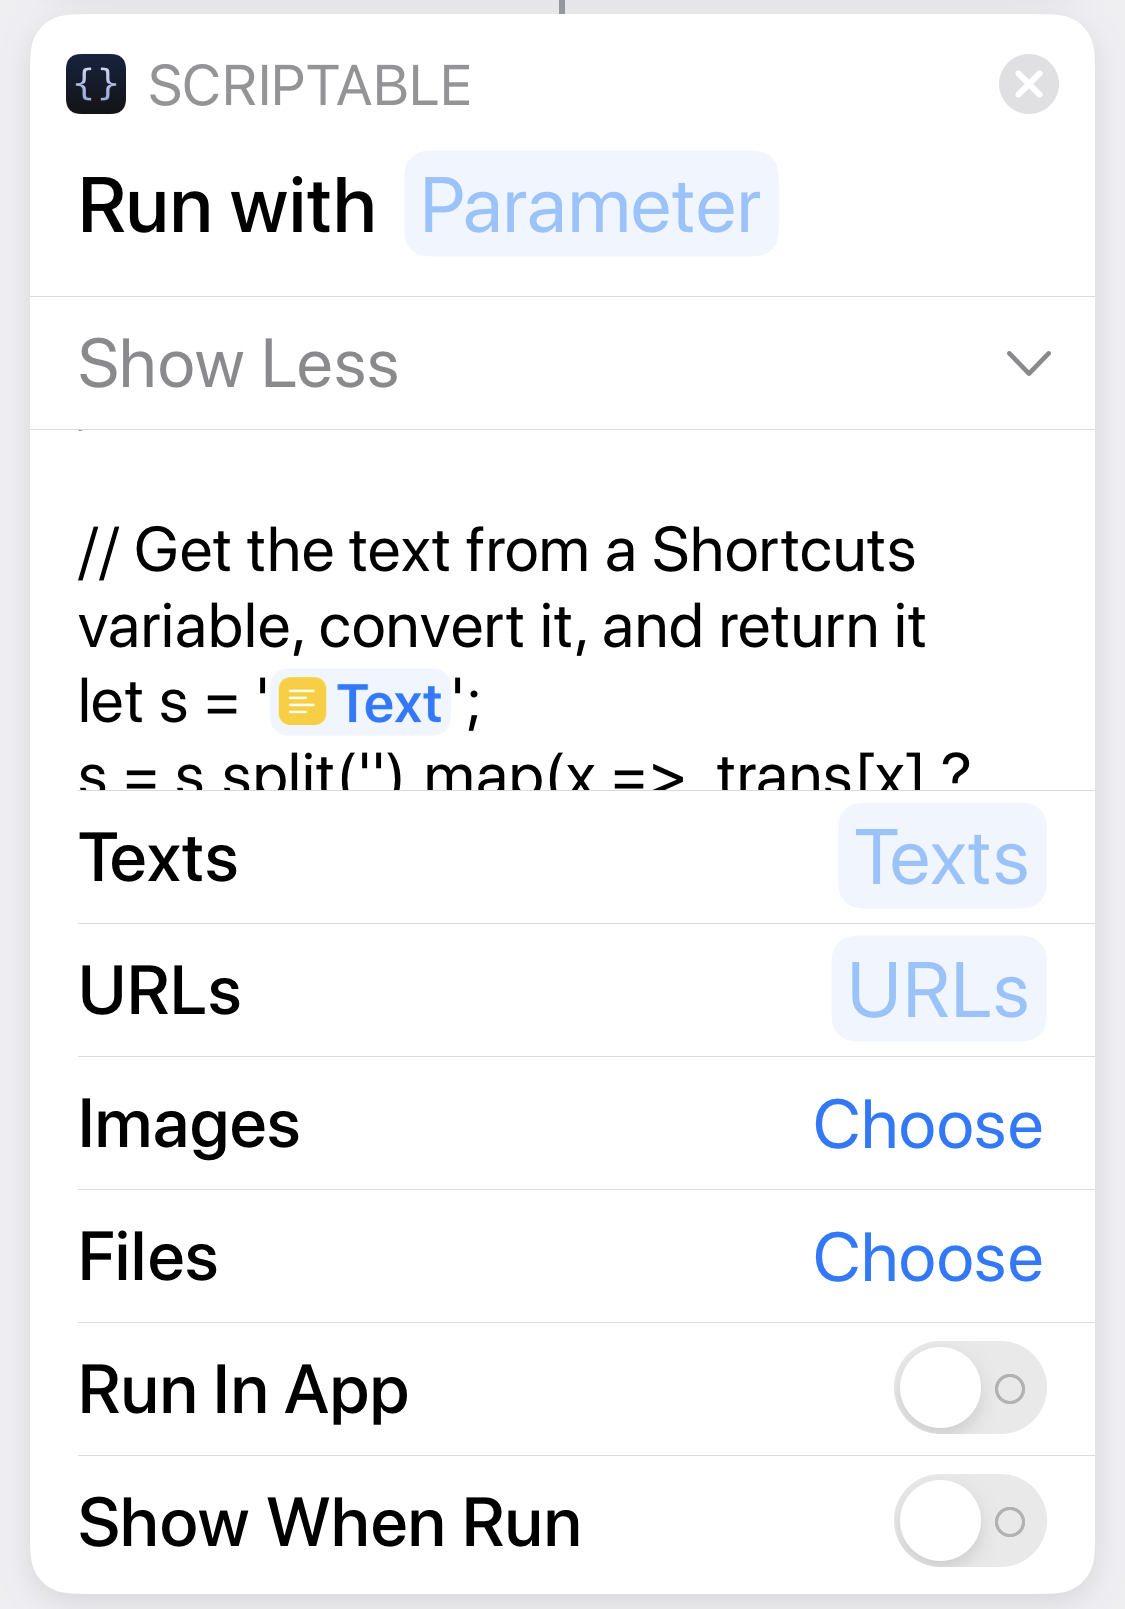 | Do the ROT13 conversion via Scriptable; the JavaScript itself is shown below. By turning off the “Show When Run” switch (it’s on by default), the script runs immediately; otherwise, there’s a pause for the user to tap a button to allow the script to run. |
| 9 |  | It’s impossible to see, but there’s a newline in this text box. |
| 10 | 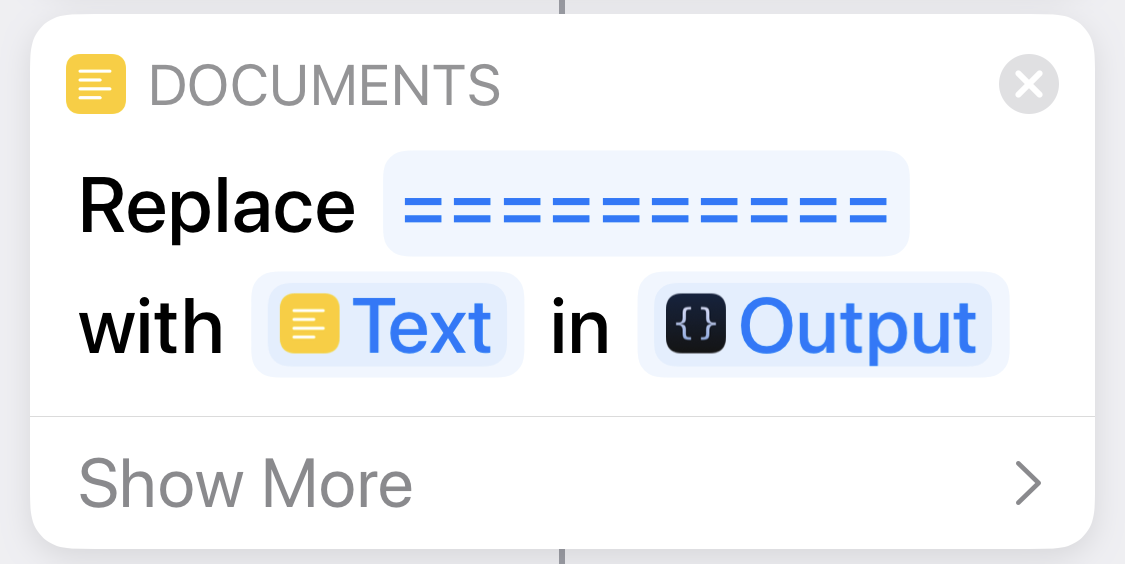 | Convert the runs of equals signs we created in Step 5 back into newlines. |
| 11 | 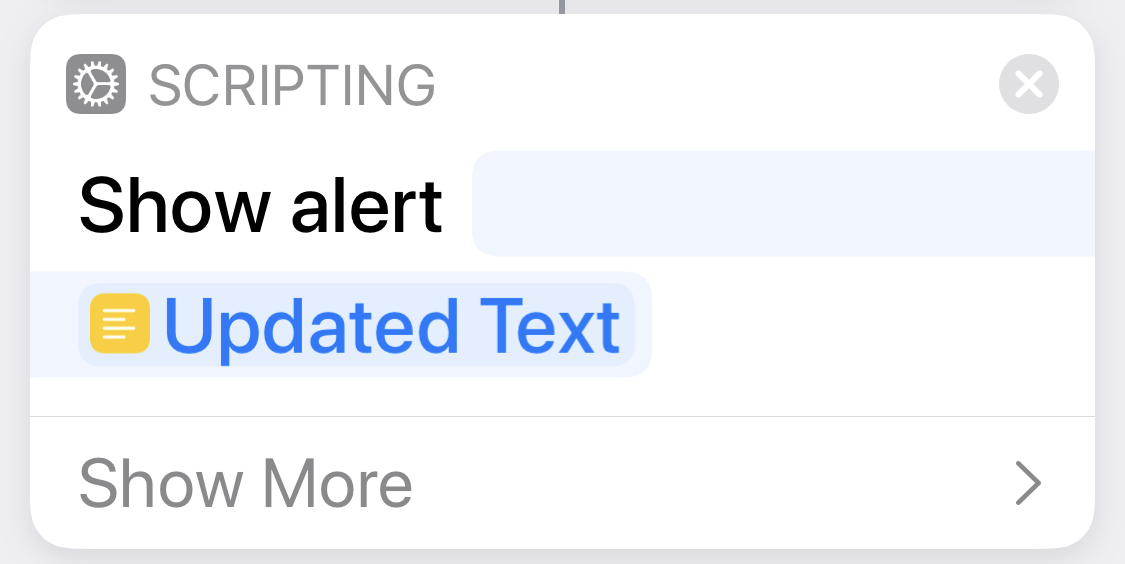 | Display the converted text in an alert. |
(I’m trying out a new way to describe Shortcuts—a table of the actions with a column of step numbers to the left and a column of commentary to the right. It’s a pain in the ass to make, but I think it gives the reader a better way to understand what’s going on. If people find it useful, I’ll try to figure out a way to automate the creation of the screenshots of the individual actions and their assembly into a table.)
The JavaScript in Step 10, which you can’t see all of in the screenshot, is this:
javascript:
 1:  // Create a dictionary that maps characters to their ROT13 transform
 2:  var pchars = "abcdefghijklmnopqrstuvwxyzABCDEFGHIJKLMNOPQRSTUVWXYZ";
 3:  var tchars = "nopqrstuvwxyzabcdefghijklmNOPQRSTUVWXYZABCDEFGHIJKLM";
 4:  var trans = {};
 5:  for (var i=0; i<pchars.length; i++) {
 6:    trans[pchars[i]] = tchars[i];
 7:  }
 8:
 9:  // Get the text from a Shortcuts variable, convert it, and return it
10:  let s = '❑Text';
11:  s = s.split('').map(x =>  trans[x] ? trans[x] : x).join('');
12:  return s;
The ROT13 conversion is done using the same code we used earlier. The difference between this and the standalone script is in the simpler input on Line 10 and output on Line 12.
For input, we don’t have to pass a parameter and use the args.shortcutParameter construct. Instead, we can assign a Shortcuts magic variable directly to a JavaScript variable. This is not mentioned in the documentation we looked at above, but I think it’s easier to understand, and it makes the JavaScript more integrated with Shortcuts. The ❑Text on the right-hand side of Line 10 is my plain text attempt to show the magic variable (which you can see in the screenshot); it’s the one bound to the output text from Step 8.
Similarly, we don’t have to use Script.setShortcutOutput() for output—we can just return the output value and later steps in the shortcut can use it (this is described in the documentation). If you need to return something more complex than a string of text, you can generate JSON by doing something like
javascript:
return {item1:"Some text", item2:42, item3:[1,2,3,4]};
and then using the “Get Dictionary from Input” action.
Fundamentally, what Scriptable’s new inline action does is address the problem John Gruber complained about in his tweet:
@jsnell @drdrang @leoncowle This whole thread is fun but it just shows how ridiculous it is that the Shortcuts doesn’t allow, you know, actual scripting. I’m mean it’s ROT13.
John Gruber Dec 26, 2019 – 10:45 PM
If you have Scriptable, you can now do, you know, actual scripting in Shortcuts.
