Outlining and Bike
November 25, 2022 at 12:36 PM by Dr. Drang
I’ve been planning to write this post for some time, but things kept coming up. Today, though, Jesse Grosjean is running a sale on Bike, his outlining app for the Mac, and it seemed like the right day to finally push this out. The sale is a pretty good one—$10 instead of the usual $30—and all you have to do to get that price is reply to this Mastodon toot with a photo of your hometown.
I’ve had a long an difficult relationship with outlining and outlining apps. I much prefer outlining to mind-mapping (so don’t write to me with mind-mapping recommendations), but I keep running into practical problems when using outlining apps. I categorize these problems as me problems and them problems.
The me problems have to do with converting an outline into a finished piece of writing. I’ve always had this silly belief that I should be able to convert an outline into the skeleton of a report (or a blog post or whatever, but it’s usually a report) more or less automatically and then flesh it out into a final product. This doesn’t work because, except for the items at the top-level, the various items and subitems in outlines don’t correspond perfectly to sections and subsections of a report. Some outline items are subsections, but most are paragraphs or lists within a subsection. There’s no general way of knowing what an outline item is; its level doesn’t offer enough information to slot it into the proper place in the report.
My solution to the me problem has been to stop trying to do the conversion automatically. I now write my reports from scratch starting with a blank text file while referring to my outline. The outline could be in a window on my Mac or open on my iPad propped up next to the Mac. If the outline happens to have paragraphs or lists that would fit nicely in the final report, I copy and paste them. Otherwise, I just type away, following the outline’s structure.
I confess this way of working still nags at me. Surely, the back of my brain says, there must be a way to avoid the repetition. But the front of my brain argues back that years of trying have never led to that magical solution. There’s no way to avoid the actual work of writing.
The them problems are about sharing my outlines with the people I’m working with. Quite often, when a report is in its early stages, sharing an outline with a colleague and going through its structure is a good way to organize and divvy up the work. But the people I collaborate with are seldom Mac users, and even if they were, they’re unlikely to have the same outlining software I have. When I was using OmniOutliner, I’d print my outline to a PDF document and share that. But getting my outline into a form I liked for review and sharing was never as easy as I thought it should be. I like my outlines to be very spare and unadorned as I’m working on them, but to have numbered sections and specific types of spacing when printed or displayed for review. OmniOutliner, being a WYSIWYG app, forced me to change my outline before printing to PDF and then change it back afterward. I suppose I could have automated a lot of this, but it just seemed wrong to have to do so.
In some ways, Bike seems worse than OmniOutliner for both the me and them problems. It’s Mac-only, so I can’t just open a Bike outline on my iPad to look at while I write. It doesn’t even have a Print menu item, so I can’t turn my outlines into PDFs for reviewing and sharing. But what it does have is a file format that makes it easy to get around these deficiencies.
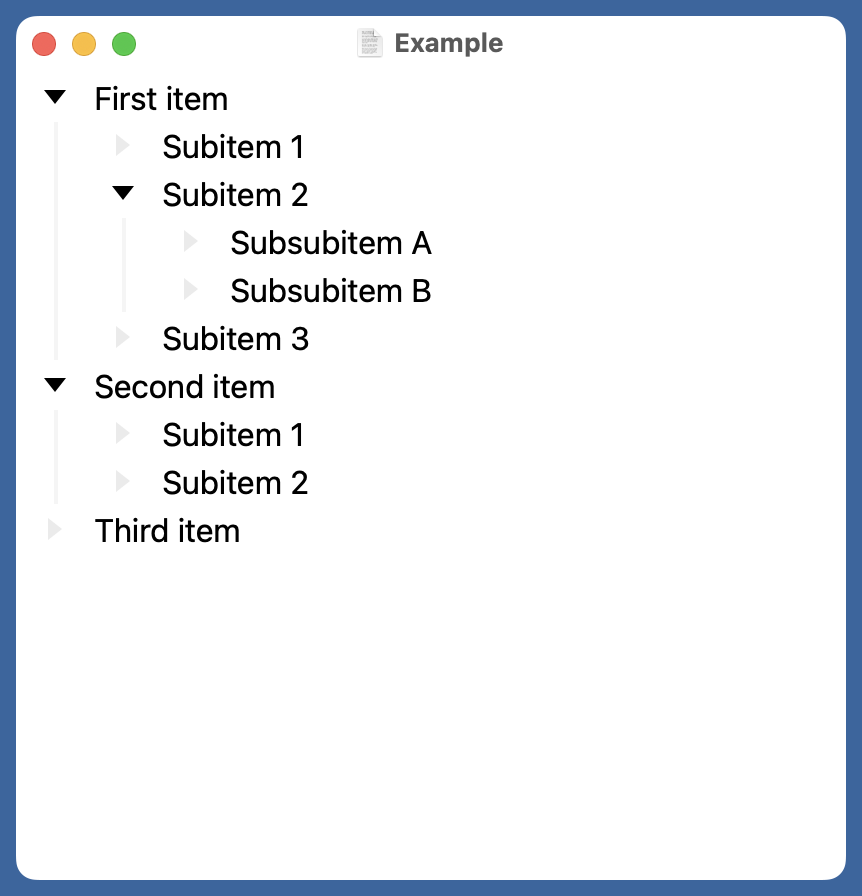
A Bike outline in its native format is just an HTML file. Here’s a screenshot of a simple example:

And here’s the source of the Example.bike file:
xml:
<?xml version="1.0" encoding="UTF-8"?>
<html>
    <head>
        <meta charset="utf-8"/>
    </head>
    <body>
        <ul id="le4V0ize">
            <li id="a0">
                <p>First item</p>
                <ul>
                    <li id="7R9">
                        <p>Subitem 1</p>
                    </li>
                    <li id="cCF">
                        <p>Subitem 2</p>
                        <ul>
                            <li id="J8w">
                                <p>Subsubitem A</p>
                            </li>
                            <li id="A-L">
                                <p>Subsubitem B</p>
                            </li>
                        </ul>
                    </li>
                    <li id="WxM">
                        <p>Subitem 3</p>
                    </li>
                </ul>
            </li>
            <li id="iU">
                <p>Second item</p>
                <ul>
                    <li id="8C3">
                        <p>Subitem 1</p>
                    </li>
                    <li id="jIH">
                        <p>Subitem 2</p>
                    </li>
                </ul>
            </li>
            <li id="aaD">
                <p>Third item</p>
            </li>
        </ul>
    </body>
</html>
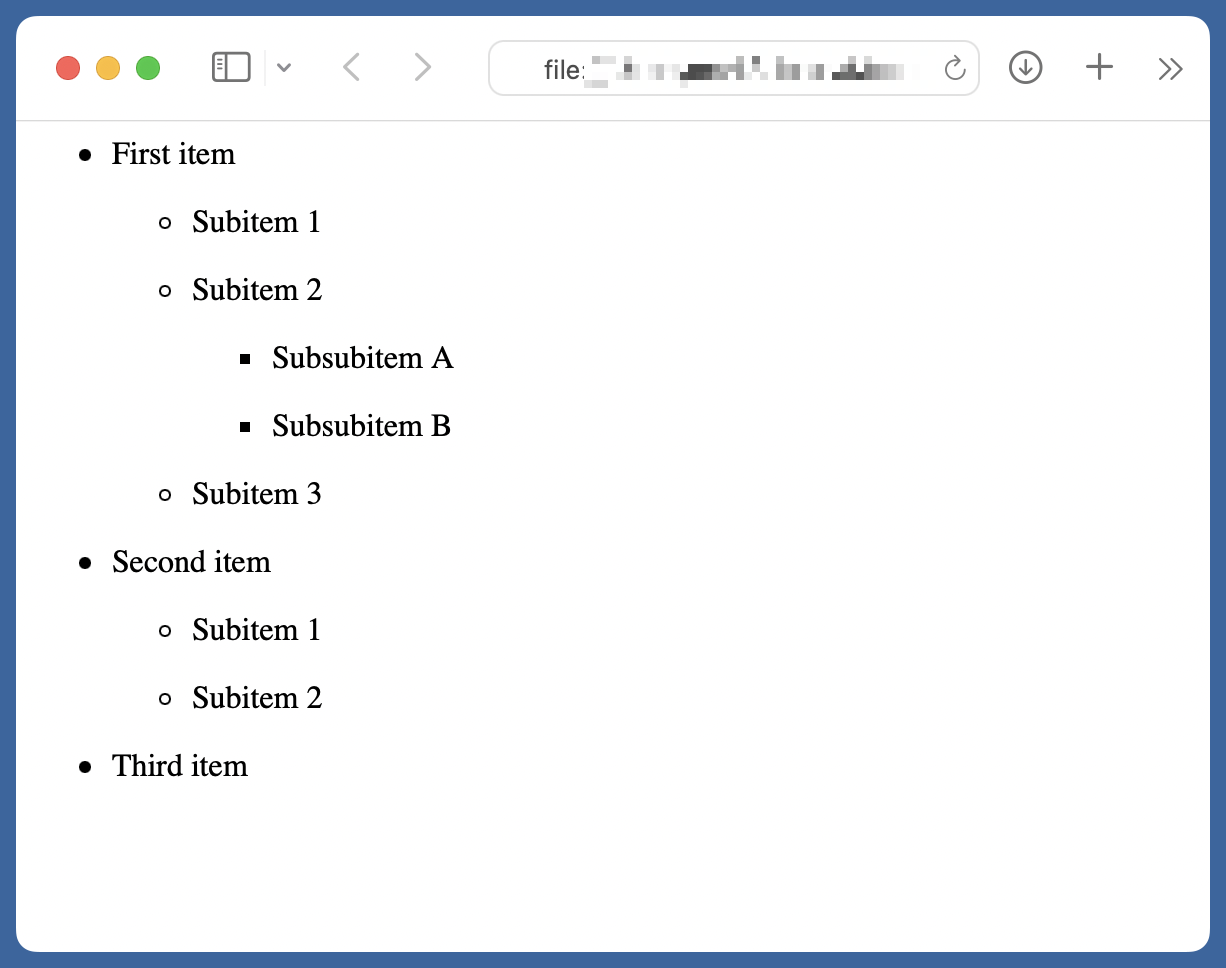
As you can see, it’s basically just a bunch of nested unordered lists. You can open a Bike file in a browser, and it’s perfectly readable, albeit a bit on the vanilla side.

Since vanilla is not what I want, I wrote a short script to add a CSS section to the file that gives me the style I want.

Here’s the script, called bike2html:
python:
 1:  #!/usr/bin/env python3
 2:
 3:  import sys
 4:  from docopt import docopt
 5:  import sys
 6:
 7:  usage = """Usage:
 8:    bike2html [options] BIKEFILE
 9:
10:  Convert a Bike outline to HTML with hierarchically numbered items.
11:
12:  Options:
13:    -t TTTT   title [default: Outline]
14:    -h        show this help message
15:
16:  """
17:
18:  # Handle the command line option.
19:  args = docopt(usage)
20:  title = args['-t']
21:  bike = args['BIKEFILE']
22:
23:  # CSS to insert after <head>
24:  css = '''    <style type="text/css">
25:        body {
26:          font-family: Helvetica, Arial, Sans-Serif;
27:          font-weight: normal;
28:          font-size: 12pt;
29:          line-height: 1.8em;
30:          margin: 0;
31:        }
32:        h1 {
33:          font-weight: bold;
34:          font-size: 20pt;
35:          line-height: 2em;
36:          text-align: center;
37:        }
38:        ul {
39:          list-style-type: none;
40:          counter-reset: item;
41:        }
42:        li {
43:          margin-top: .9em;
44:          counter-increment: item;
45:        }
46:        li::before {
47:          display: inline;
48:          content: counters(item, ".");
49:          padding-right: .75em;
50:        }
51:        li > p {
52:          display: inline;
53:        }
54:        @page {
55:          size: Letter;
56:          margin: 1in 1in .75in .5in;
57:        }
58:      </style>
59:  '''.splitlines(keepends=True)
60:
61:  # Convert the input (first argument) to HTML with CSS
62:  with open(bike) as f:
63:    htmlLines = f.readlines()
64:
65:  # Don't include the <?xml> line
66:  del htmlLines[:1]
67:
68:  # Put the <style> section after <head> and the title after <body>
69:  headLine = htmlLines.index('  <head>\n')
70:  htmlLines[headLine+1:headLine+1] = css
71:  bodyLine = htmlLines.index('  <body>\n')
72:  htmlLines[bodyLine+1:bodyLine+1] = [f'    <h1>{title}</h1>\n']
73:
74:  print(''.join(htmlLines), end='')
As you can see, much of the script is the CSS <style> section (Lines 24–59) that gets inserted into the file in Line 70. I use docopt to handle command-line options; currently, the only option is -t, which I use to set the title of the outline (with an <h1> tag) in Line 72. The script also deletes the <xml> line at the top of the original Bike file.
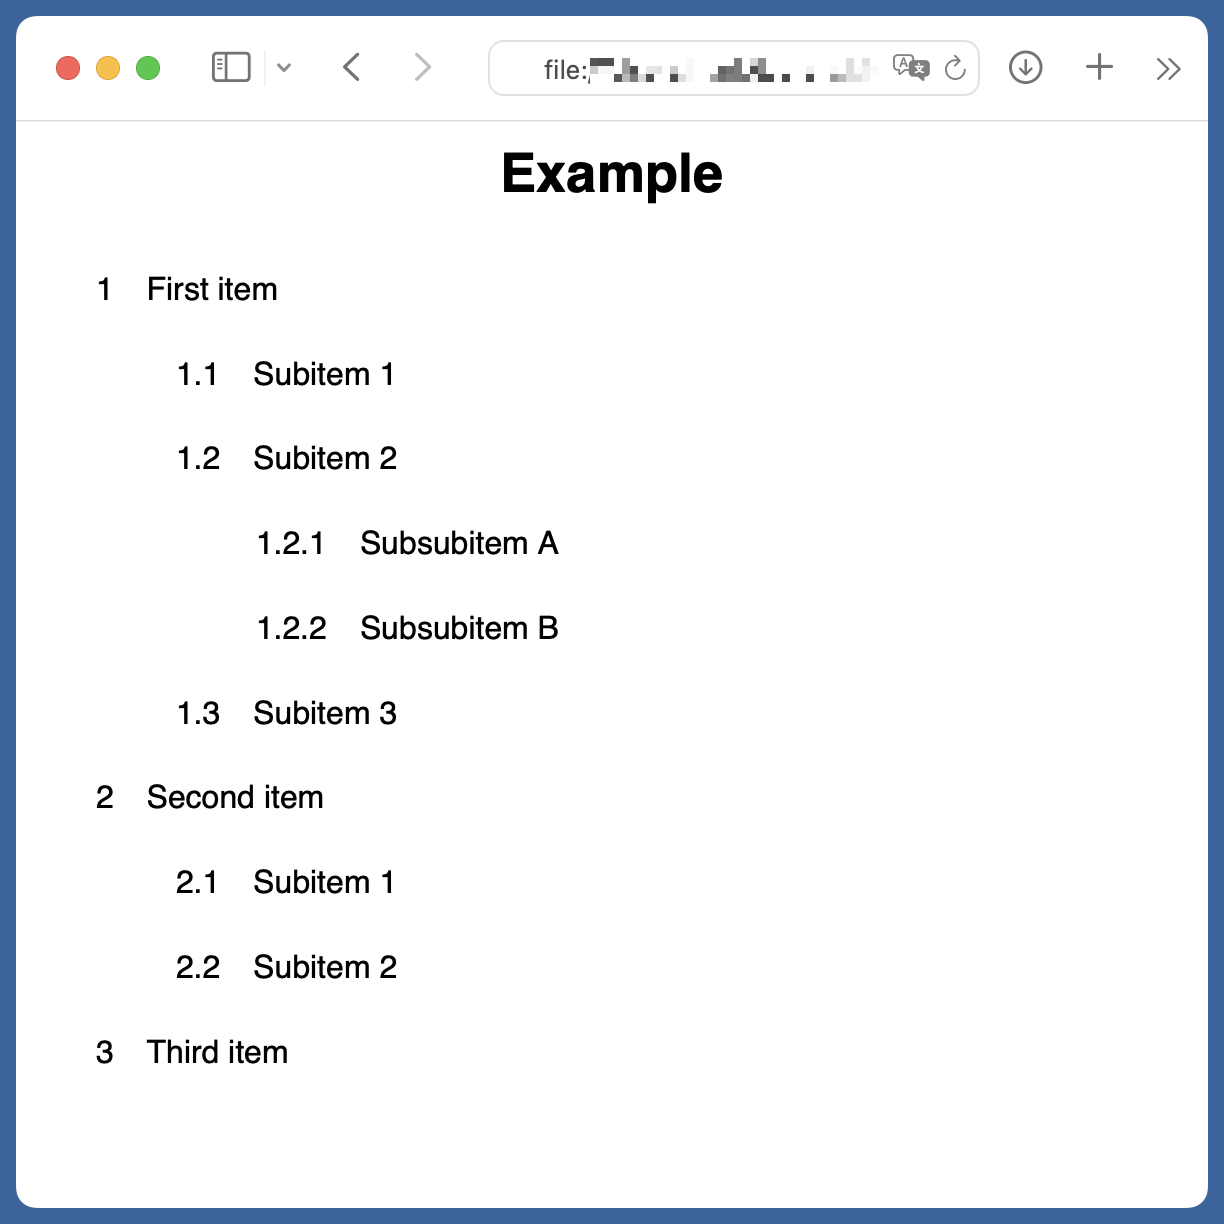
The only clever part of the script is the CSS that does the item numbering. That’s in Lines 38–50. I’m not sure where I learned how to do nested counters, but it was probably this Mozilla Developer Network page. You’ll note that even though Bike defines its outline items with <ul> tags, you can still assign numbers to them without changing them to <ol> tags.
Using bike2html is easy:
bike2html -t 'Example' Example.bike > Example.html
I suppose I should make the script smarter by using the filename as the default title.
I can send Example.html to anyone, and they’ll be able to open it. The nice thing about the “1.2.3” style of numbering the items is that it makes it easy for everyone who has the outline to refer to particular items on the phone or in an email.
You may be wondering how I can show Example.html on my iPad as I’m writing a report. Unlike Safari on the Mac, Safari on the iPad cannot open local files. There are two three ways to get around this:
- I can upload it to a server I control and open that file in Safari.
- I can open it in the Documents app from Readdle, which knows how to display HTML.
- I can start a local web server on my iPad via WorldWideWeb from The Iconfactory and view the page in Safari.
Update 11/25/2022 4:46 PM
Thanks to Andrew Kerr (on Mastodon!) for reminding me of WorldWideWeb. I bought WWW when it came out and used it for this very purpose a couple of months ago. Not sure why I stopped using it; it’s ideal for viewing this sort of static page.
Continuity allows me to select and copy text on the iPad and paste it on my Mac. It’s a nice way to work.
I should mention that I do enjoy outlining in Bike. It doesn’t have a huge number of features, but the features it has are what I need. I can see why other people might find it offputting for a writing app to not have a Print command, but it’s just right for me.

