A more handy Warhol
August 10, 2020 at 9:10 AM by Dr. Drang
After posting my Warhol shortcut, I got a couple of good suggestions for improvements. They overlapped to some extent, so I put them together into a new Warhol.
First, David Sparks pointed out that it would be helpful to end the shortcut by opening Photos so you can both see the new image and do something with it. And Leddy, in the Automators discussion forum, had a suggestion for running it both the Share Sheet and directly from Shortcuts without running into memory constraints. As I was trying out Leddy’s suggestion, I learned that Warhol wasn’t constrained by memory when run from the Share Sheet. (Apparently I’d run into that problem during one of the the early iterations of Warhol and never went back to check if the later improvements made it efficient enough to avoid the memory constraint.)
So now Warhol can be run from both Shortcuts and the Share Sheet in Photos. If it’s run from Shortcuts, it finishes by opening Photos. If it’s run from the Share Sheet, Photos is already open.
Here are the steps in the improved Warhol:
| Step | Action | Comment |
|---|---|---|
| 0 |  |
This would generally be run from the Share Sheet in Photos. |
| 1 |  |
This only works with one image, so if more than that selected, take just the first one. |
| 2 | 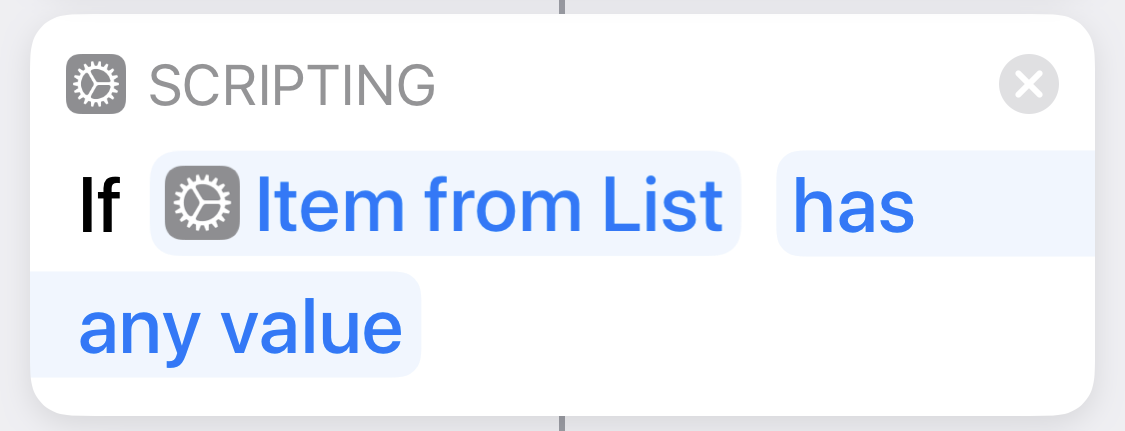 |
If this was really run from the Share Sheet, there will be something from the Step 1. |
| 3 | 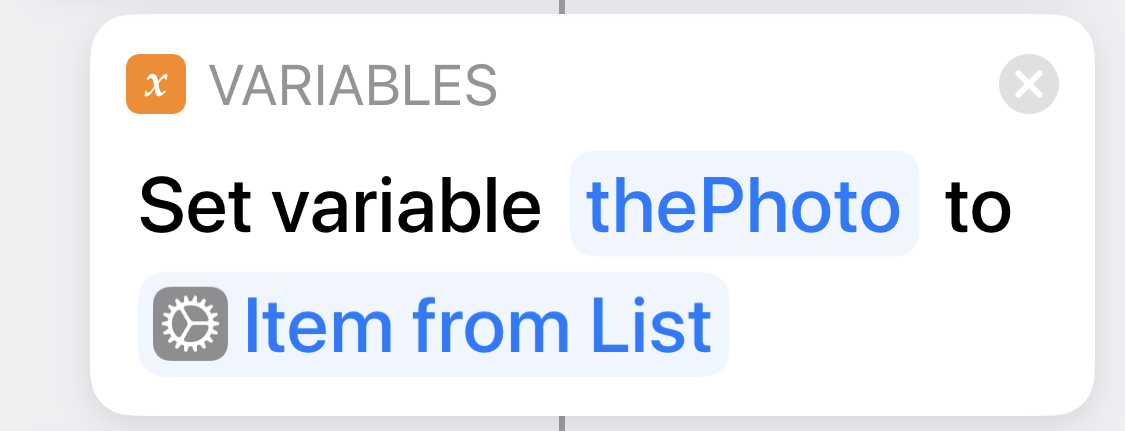 |
So store that something in thePhoto for later use. |
| 4 |  |
If Warhol was run directly from Shortcuts, there’s no photo passed to it, and the output Step 1 is empty. |
| 5 | 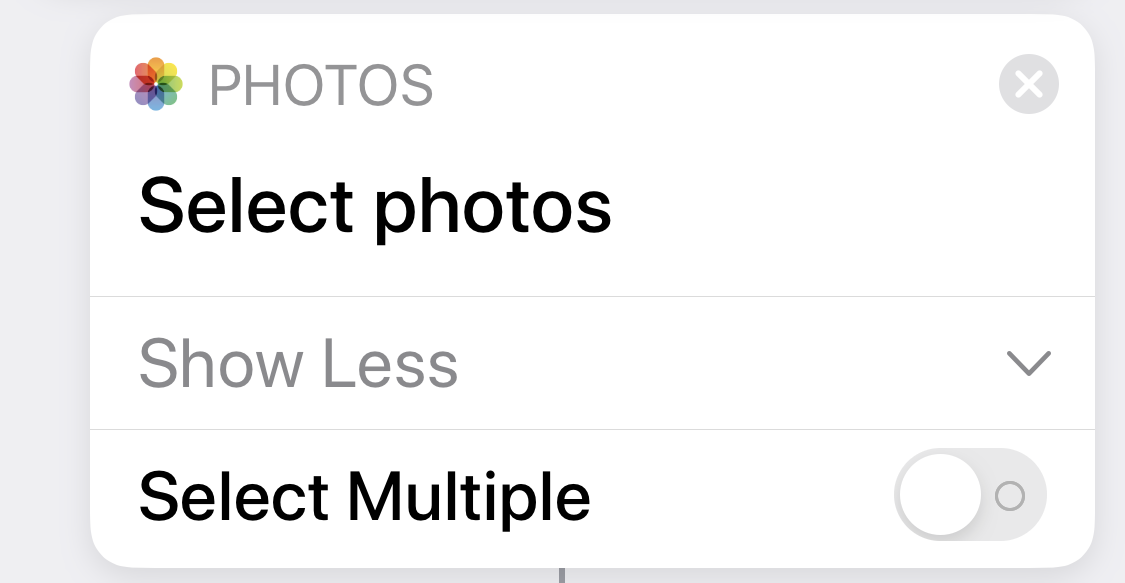 |
So ask the user to select an image… |
| 6 | 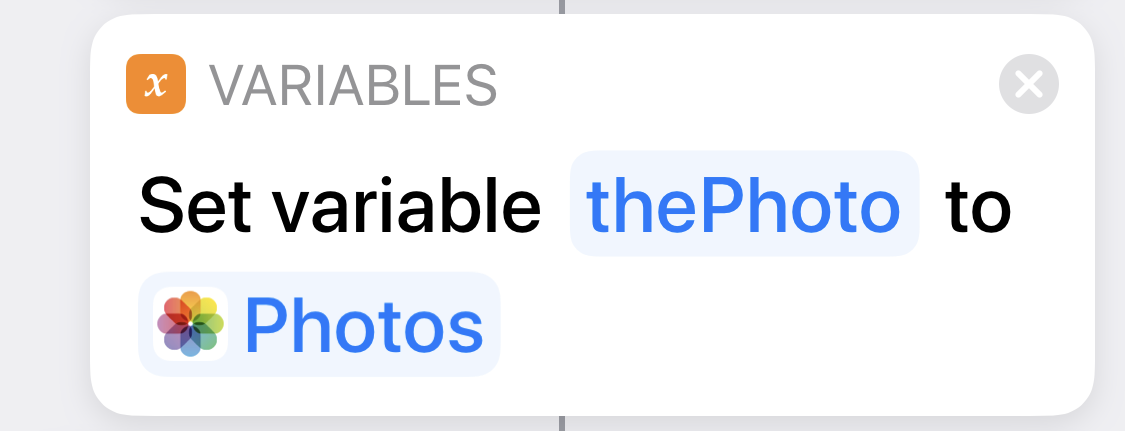 |
And store that image in thePhoto. |
| 7 |  |
|
| 8 | 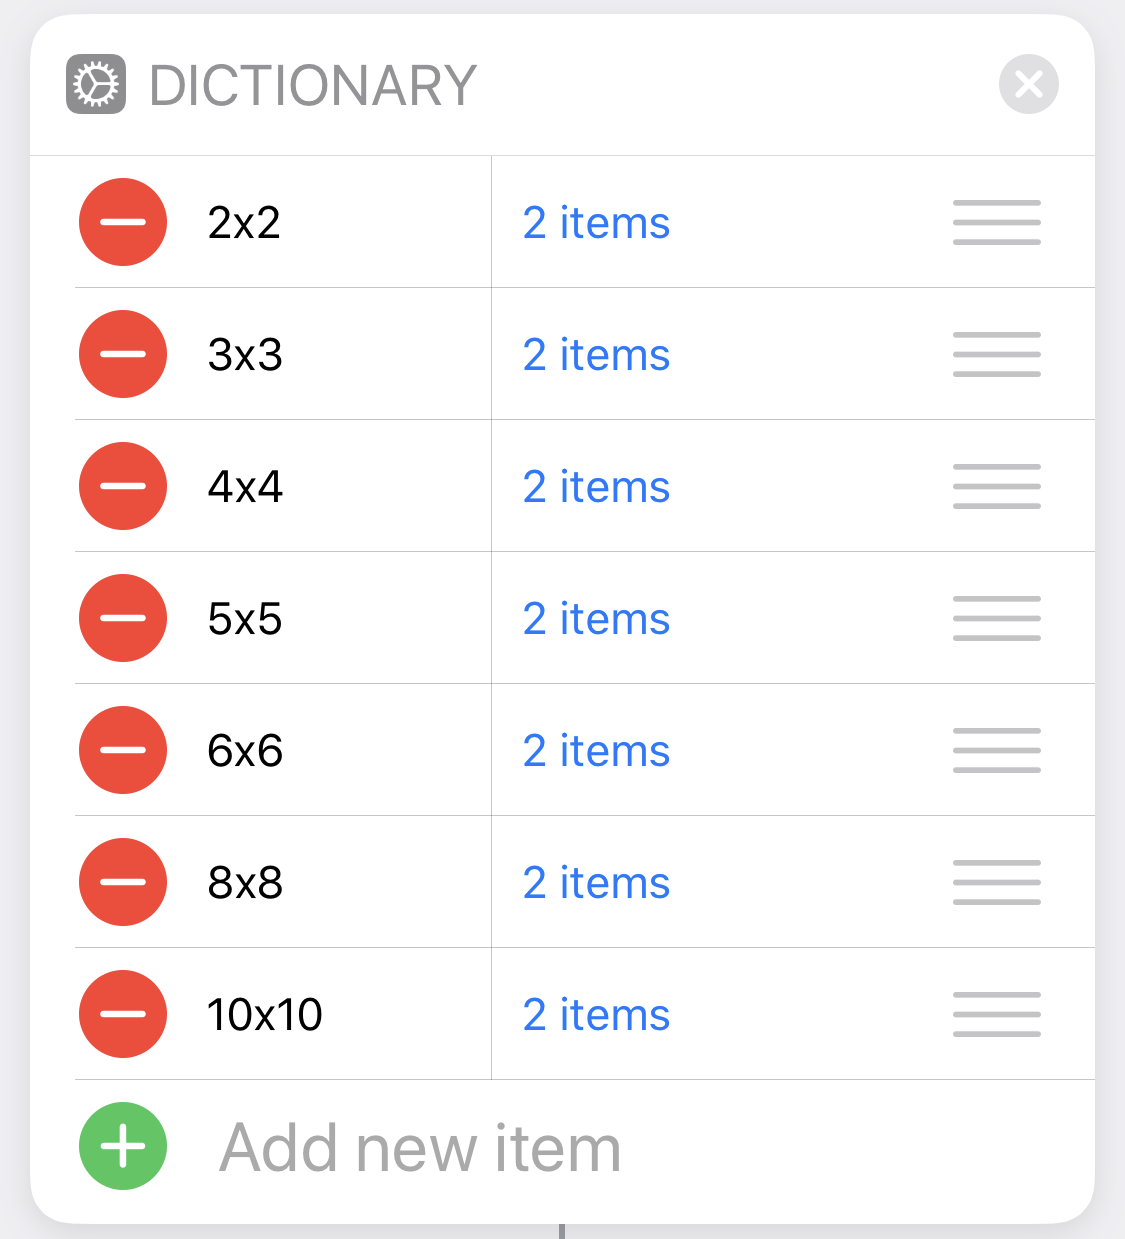 |
This is a dictionary of dictionaries, which we’ll use to resize the images and assemble the grid. The keys of the “outer” dictionary are the grid sizes you see in the left column. The keys of the “inner” dictionaries are count and width. |
| 9 | 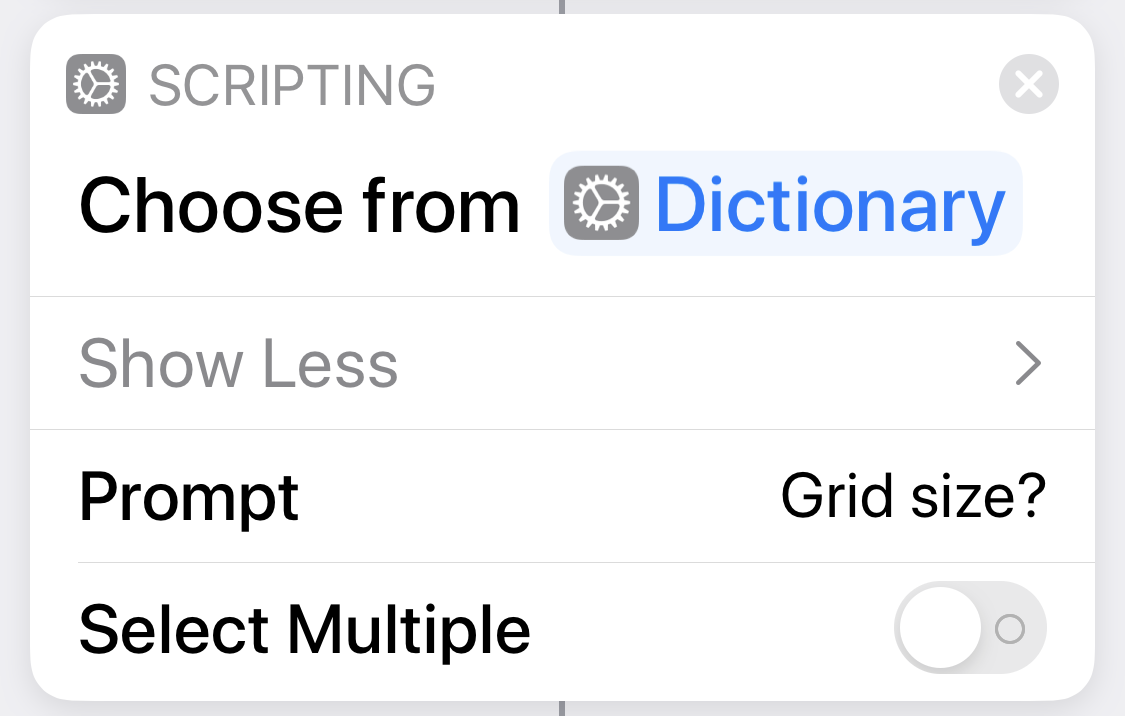 |
Put up a menu for choosing the grid size from the dictionary in Step 8. |
| 10 | 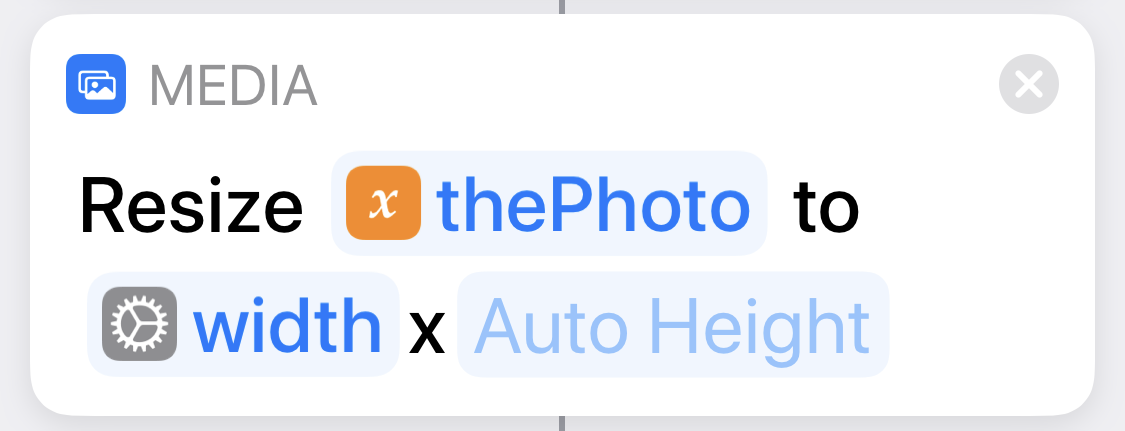 |
Resize thePhoto to the width value from the dictionary item chosen in Step 9. |
| 11 | 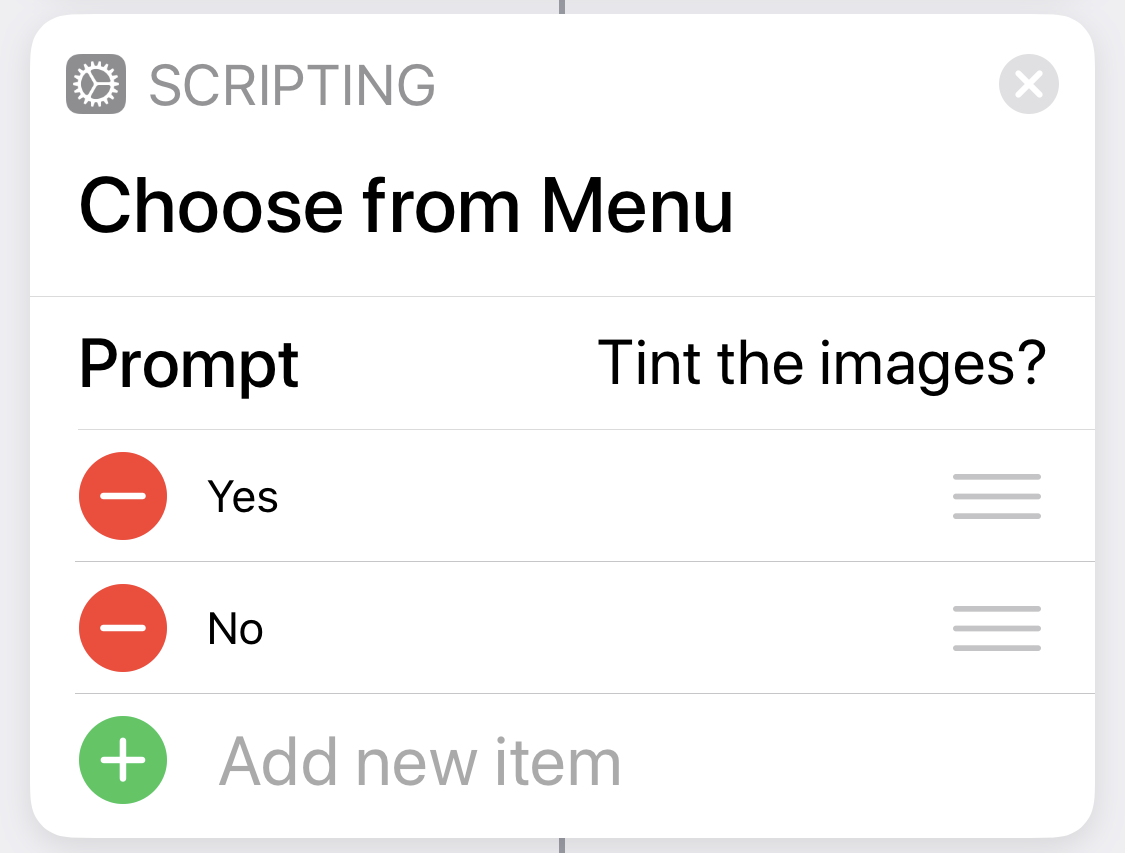 |
Ask if the photos in the grid should be tinted. |
| 12 |  |
If yes… |
| 13 |  |
For the number of photos in the grid, which is the count value from the dictionary chosen in Step 9… |
| 14 | 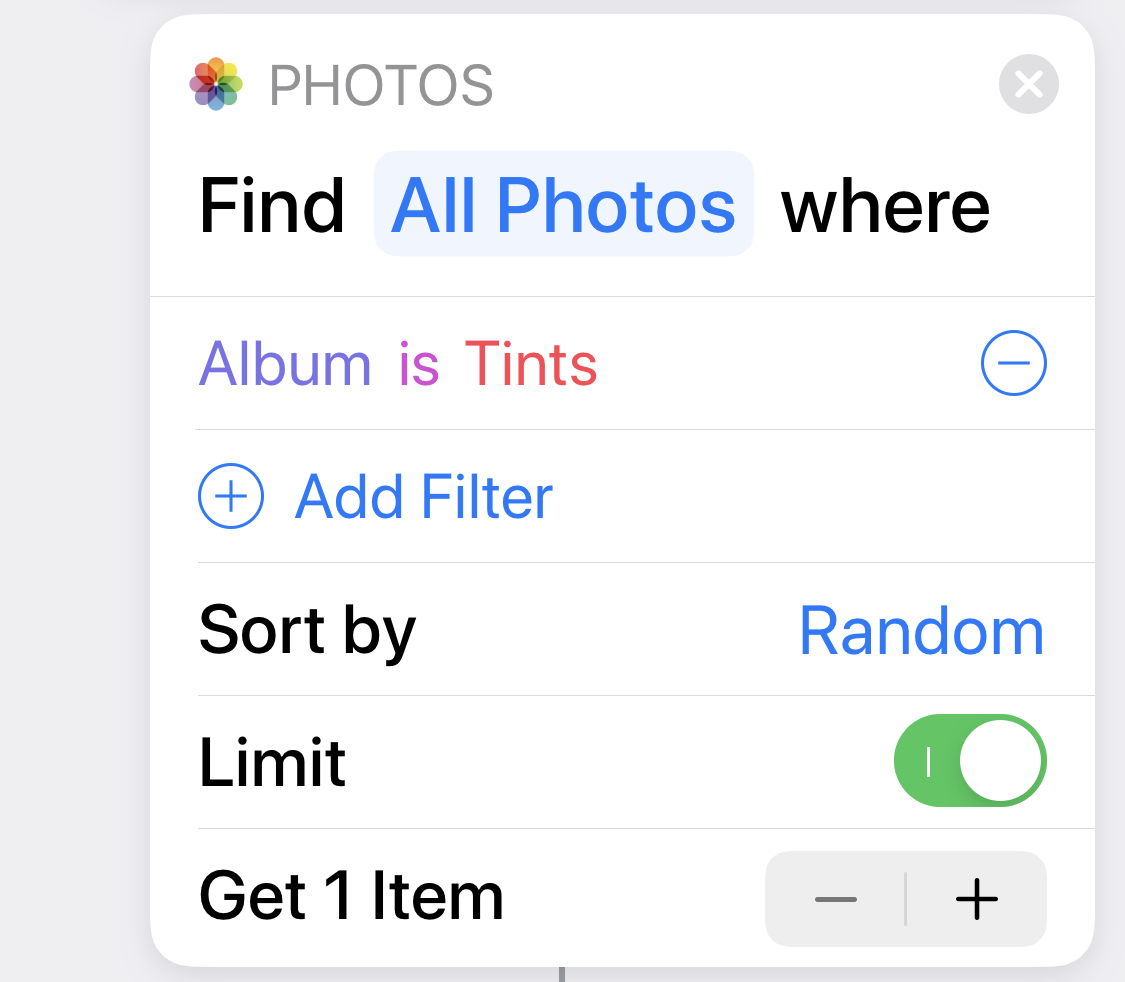 |
Select an image at random from the Tints album. |
| 15 | 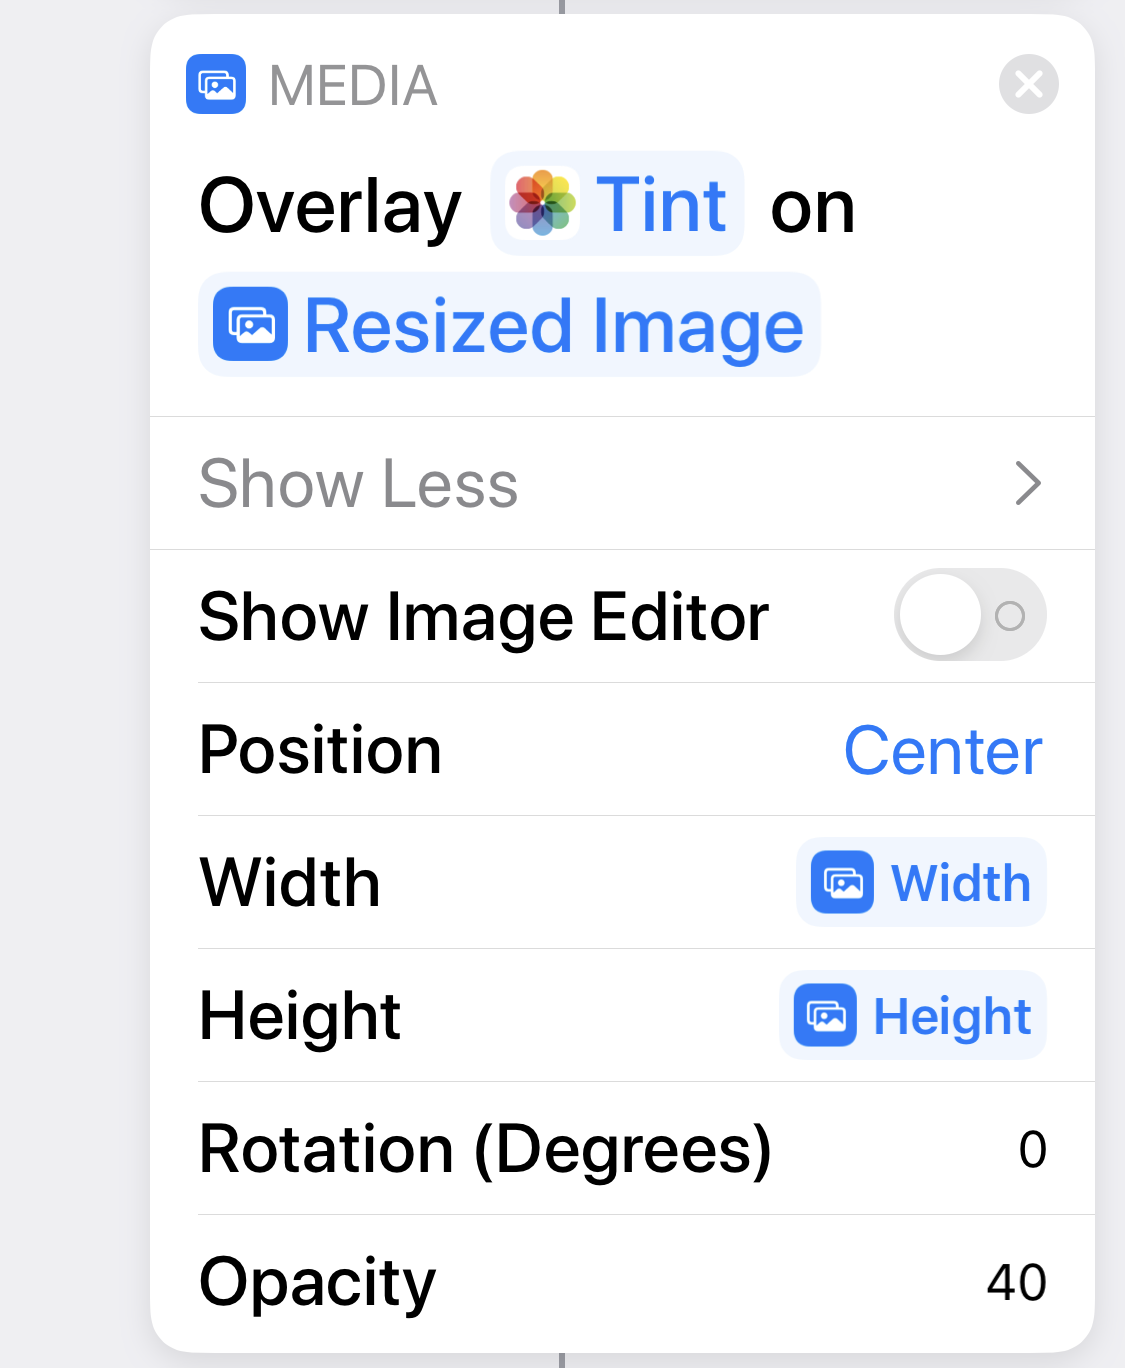 |
Resize the tint image and overlay it onto the resized version of thePhoto. Width and Height are the width and height of the resized photo. For the opacity of the overlay, I tried several values and landed on 40%. You may prefer something else. |
| 16 |  |
Add the tinted image to the photos list. |
| 17 |  |
We’re done assembling the tinted photos. |
| 18 |  |
If no tinting… |
| 19 |  |
For the number of photos in the grid, which is the count value from the dictionary chosen in Step 9… |
| 20 |  |
Add the resized version of thePhoto to the photos list. |
| 21 |  |
We’re done assembling the untinted photos. |
| 22 |  |
We’re done handling the tinted/untinted option. |
| 23 | 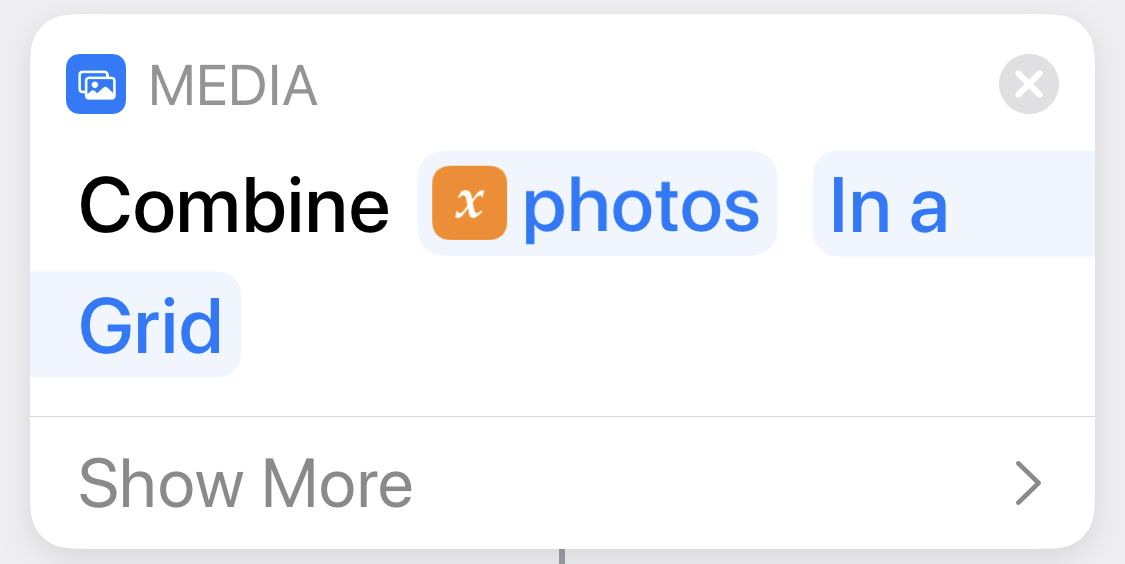 |
Arrange the images collected in photos into a grid with a 1-pixel white line between them. |
| 24 |  |
Save the grid image to Photos. |
| 25 | 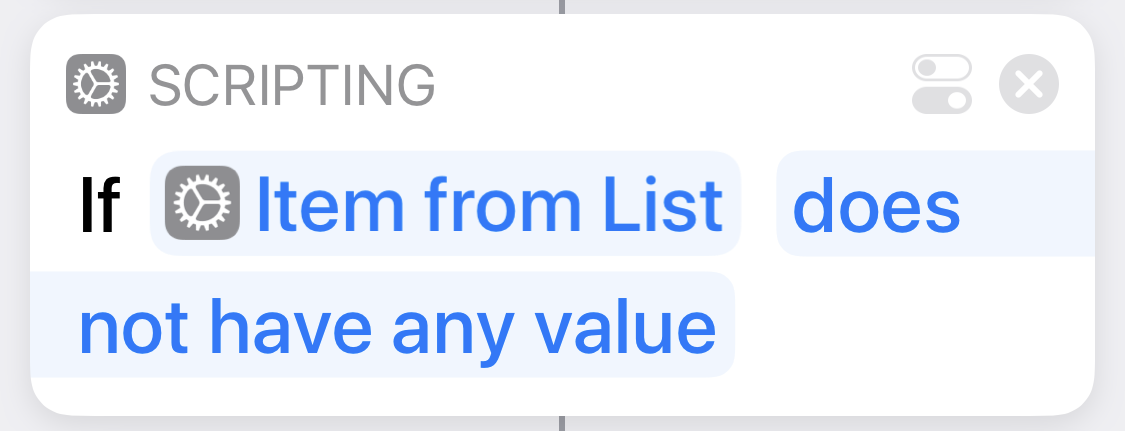 |
If nothing was passed in, Warhol was run from Shortcuts… |
| 26 |  |
So open the Recents album in photos to see the newly made image. |
| 27 |  |

